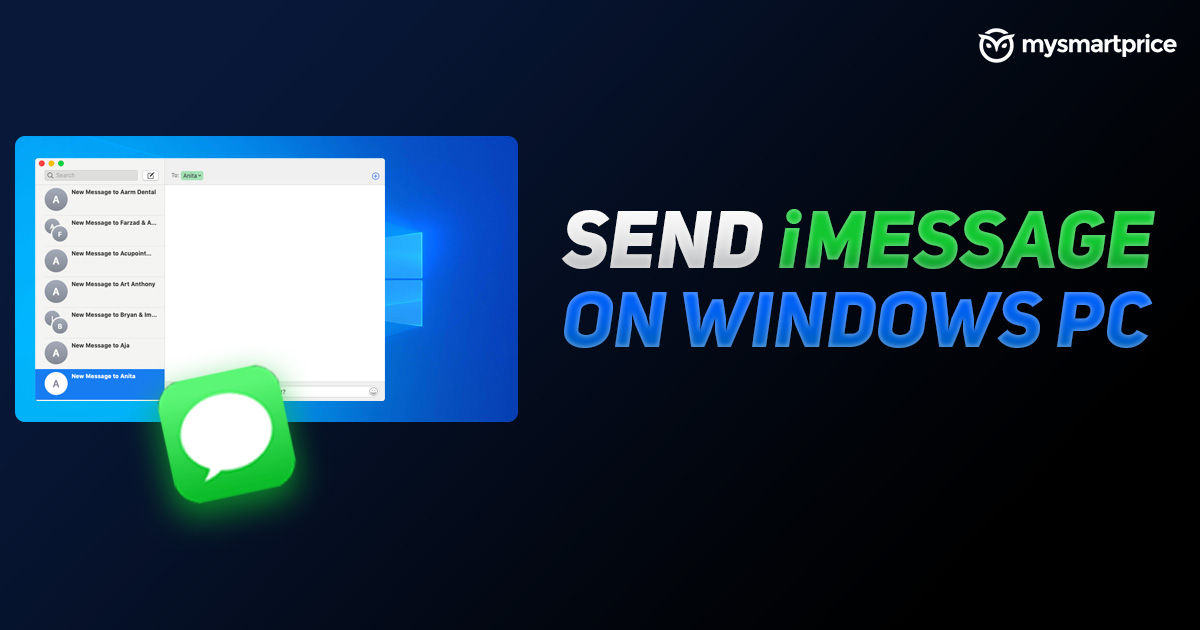
iMessages are known to be one of the more secure messaging apps around. Alongside the standard direct messaging, iMessage today allows users to create group chats, share files, enjoy special animations in specific chats, and above all, make sure that users get a private, secure app that can be trusted in terms of their security credentials. However, the big restriction is that iMessages are only available in the Apple ecosystem, and quite often, many at their workplaces are forced to use Windows 10 laptop or desktop PCs as part of their enterprise setup, which can create a conflict if you happen to use an iPhone and a MacBook for your work otherwise. In essence, if you wish to keep your iMessage chats going at work too, you will be required to constantly be on your phone, which can majorly disrupt your workflow. Hence, getting iMessage on PC running on Windows 10 can be very important.
On this note, we look at one possible and slightly complex process that can let you enjoy your iMessages on PC, right from within your Windows 10 setup. To set it up, here’s what to do.
iMessage on PC Step 1: Configure settings on phone
- To begin with, make sure that your iMessage settings are configured correctly. Access iMessage on your iPhone, and enable iMessage on iCloud, which gives your messaging app the cross-platform sync ability.
- Also check that iMessage is configured not just to your phone number but also your Apple ID. Once these checkboxes are ticked, you are officially ready to use iMessage on any Apple device linked to your Apple ID.
iMessage on PC Step 2: Enable Chrome remote desktop sync
- On your MacBook, open Google Chrome with the same Google ID that you are logged into Chrome with on your Windows 10 PC.
- Now access extensions on Chrome, and install the Chrome Remote Desktop extension.
- Once installed, head to Chrome Apps, find the extension and start it up.
- Once Chrome Remote Desktop is open, click on ‘enable remote connections’. This will prompt the downloading of the extension’s host installer on your PC.
- Accept and install the Chrome Remote Desktop host installer on your Mac.
- Once installed, open the extension again, and yet again, switch on remote connections. This will prompt you to set a six-digit security PIN and enter your Mac’s password, for safety purposes.
- This will finally show a pop-up that shows that remote connections are enabled on your Mac.
iMessage on PC Step 3: Connection consistency
- The next job is to make sure that your Mac stays plugged in to power, and does not automatically sleep for the duration for which you need to use iMessage on your Windows 10 PC.
- To do this, head to System Preferences, click on Energy Saver, and click on ‘prevent computer from sleeping automatically when the display is off’.
- Also switch on ‘wake for wi-fi network access’, and you are done.
iMessage on PC Step 4: Accessing on Windows 10
- Open Google Chrome with the same account that you’d used to login to Chrome for Mac.
- Install the remote desktop extension, and once installed, open it.
- Once open, select ‘My Computer’ from the display prompt and click on ‘Get Started’. This is where your pre-configured MacBook should show up.
- Click on the MacBook, enter the six-digit PIN that you had set up, and your Mac’s entire desktop should show up right inside the Chrome extension on your Windows 10 PC.
- You can now use this to open iMessages through the extension, and resume messaging activities on the app from Windows 10 as well.
While the entire process may seem a bit complex, do notw that most of this is a one-time setup, which you would not be required to do everyday to get iMessage on PC. However, do keep in mind that you should only be doing this on a private Windows PC, and not on those that may be shared by others. This can compromise the security of your private communications, so proceed only when you are sure that nobody else can access your Windows 10 PC.


