Unlike previous Windows, Windows 11 has a rigid set of minimum requirements. If your PC or laptop fails to comply with them, Microsoft will likely term your system as unsupported for Windows 11. The good news is that there are ways around the Windows 11 minimum requirements. For instance, you can bypass the TPM 2.0 requirement using a small script hack. In this article, we will look at how you can deal with Windows 11’s requirement that Secure boot be turned on.
Check if Secure Boot Is Enabled or Not
Secure Boot is an UEFI interface feature that provides protection to your system while booting. It safeguards the PC from malware infections and attacks from tampered boot loaders, OS files, unauthorized option ROM etc. If an anomaly is detected, Secure Boot blocks the file or program before it can infect the entire system.
Most PCs and laptops have secure boot turned on. If you want to check its status,
1. Head to Start.
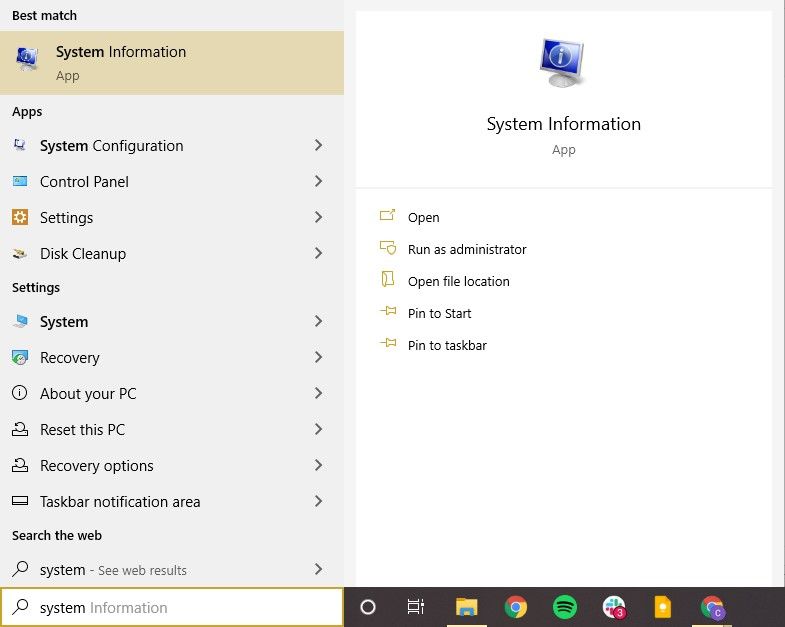
2. Search for System Information and click on it.
3. In the system summary, look for “Secure Boot State.”
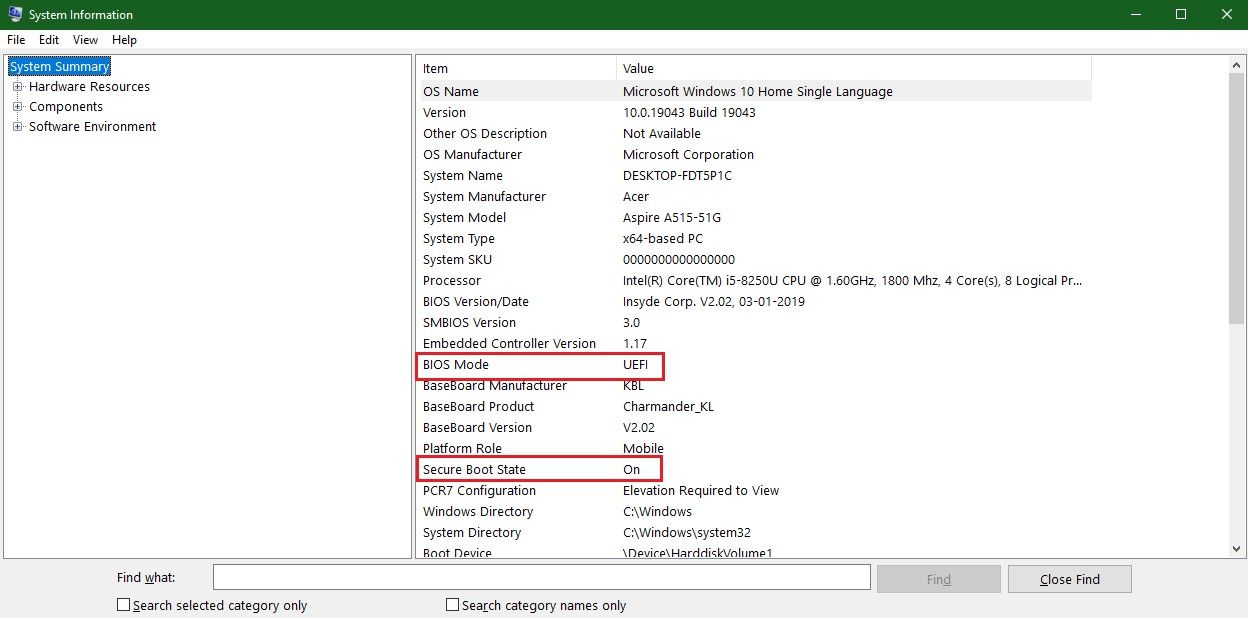
4. See if Secure boot is enabled or not.
While you’re at it, also check the BIOS mode that you’re running. If it reads UEFI, that means Secure boot is available for the device regardless of whether it’s enabled or not.
How to Bypass Secure Boot to Install Windows 11
If you are running Legacy BIOS, you have the option to switch to UEFI firmware type. However, that’s a complicated process and risks wiping out the entire system. An easier option would be to simply bypass the Secure boot requirement for installing Windows 11. The workaround is to use the Rufus tool to create a Windows 11 bootable USB that has Secure boot detection turned off. Here’s what you need to –
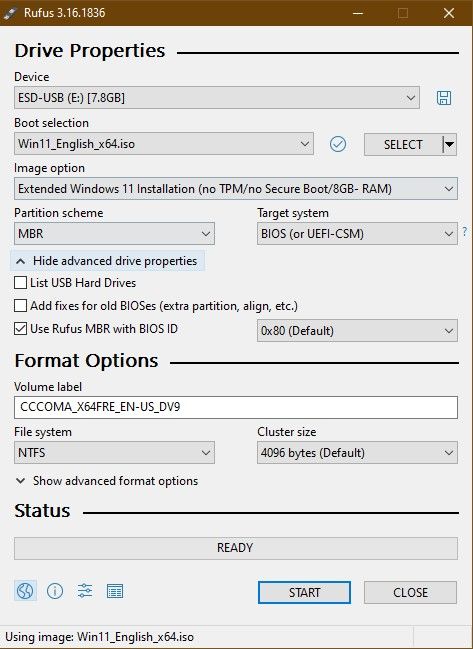
- Download the latest version of Rufus and open the application.
- Select the USB flash drive from the Device drop-down menu.
- Click on Select and locate the Windows 11 ISO file.
- Select the Extended Windows 11 Installation option under the Image option drop-down menu.
- Select MBR under Partition scheme. If you are running UEFI, select GPT.
- Rename the drive under the Volume label.
- You can change the Advanced Format settings or keep them as they are.
- Click on the Start button and then click on OK to confirm.
Once the process is complete, Rufus will create a Windows 11 bootable USB that can bypass the Secure boot and TPM 2.0 requirement. You can use it to install Windows 11 on any unsupported PC.
How to Enable Secure Boot to Install Windows 11
If Secure boot is disabled, you can enable it in the UEFI firmware settings. Follow the instructions below to fix the Windows 11 Secure boot requirement.
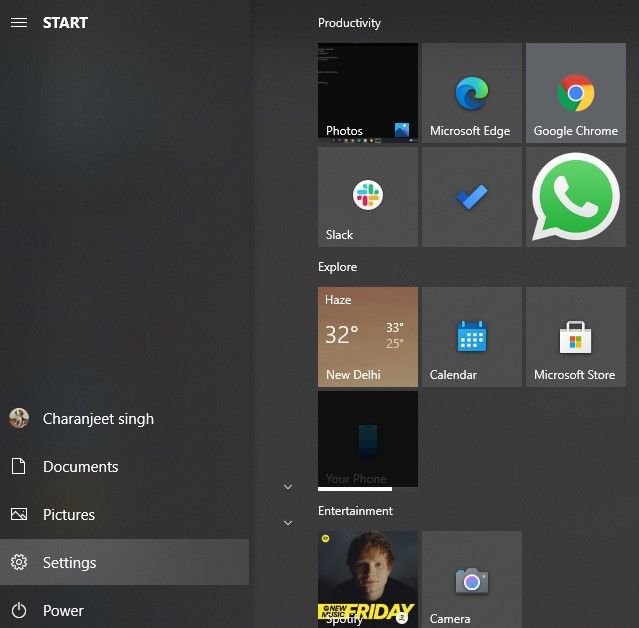
- Go to Start and open Settings.
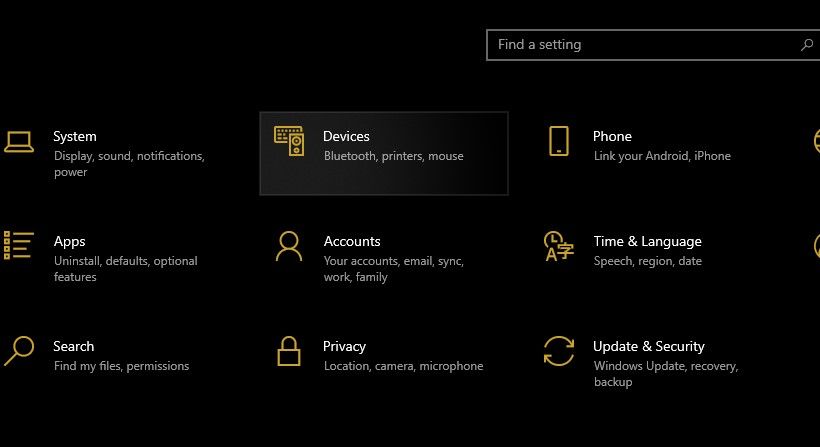
2. Click on Update and Security.
3. On the sidebar, click on Recovery.
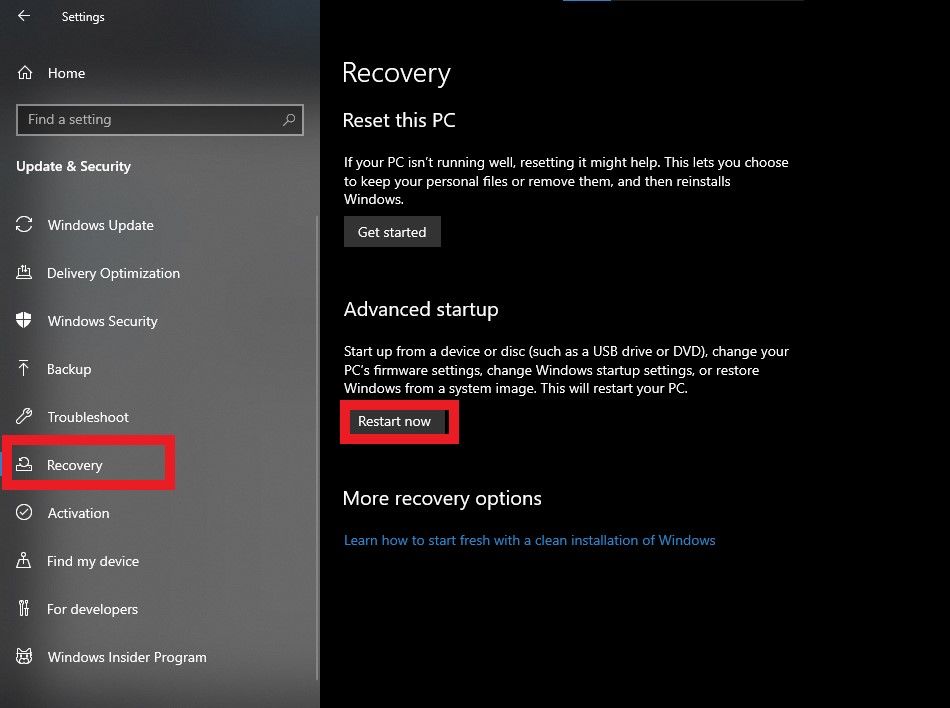
4. Click on Restart Now under the Advanced Startup section.
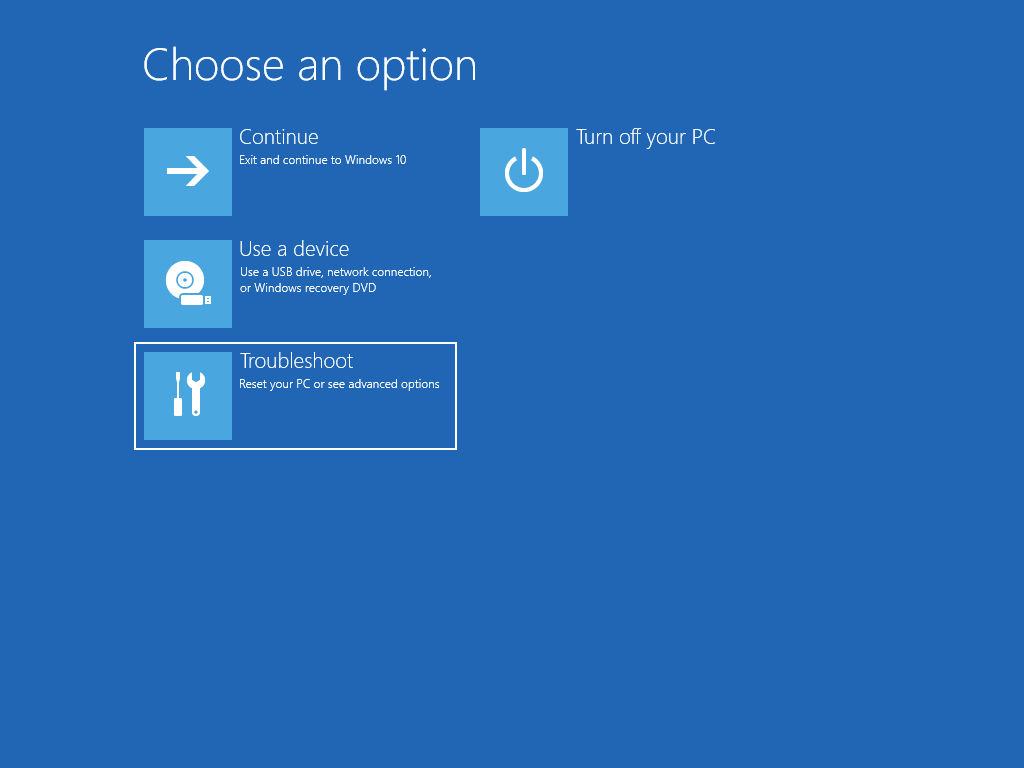
5. Click on Troubleshoot and then click on Advanced options.
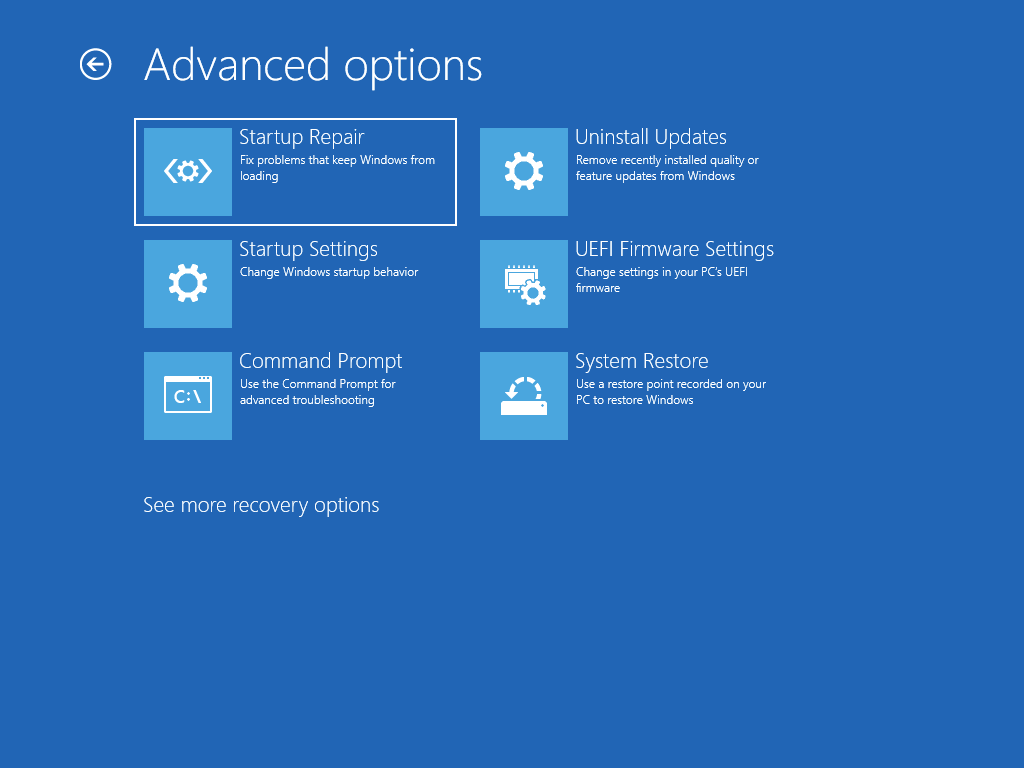
6. Click on the UEFI firmware settings and click on Restart.
7. On the BIOS screen, go to the Boot tab.
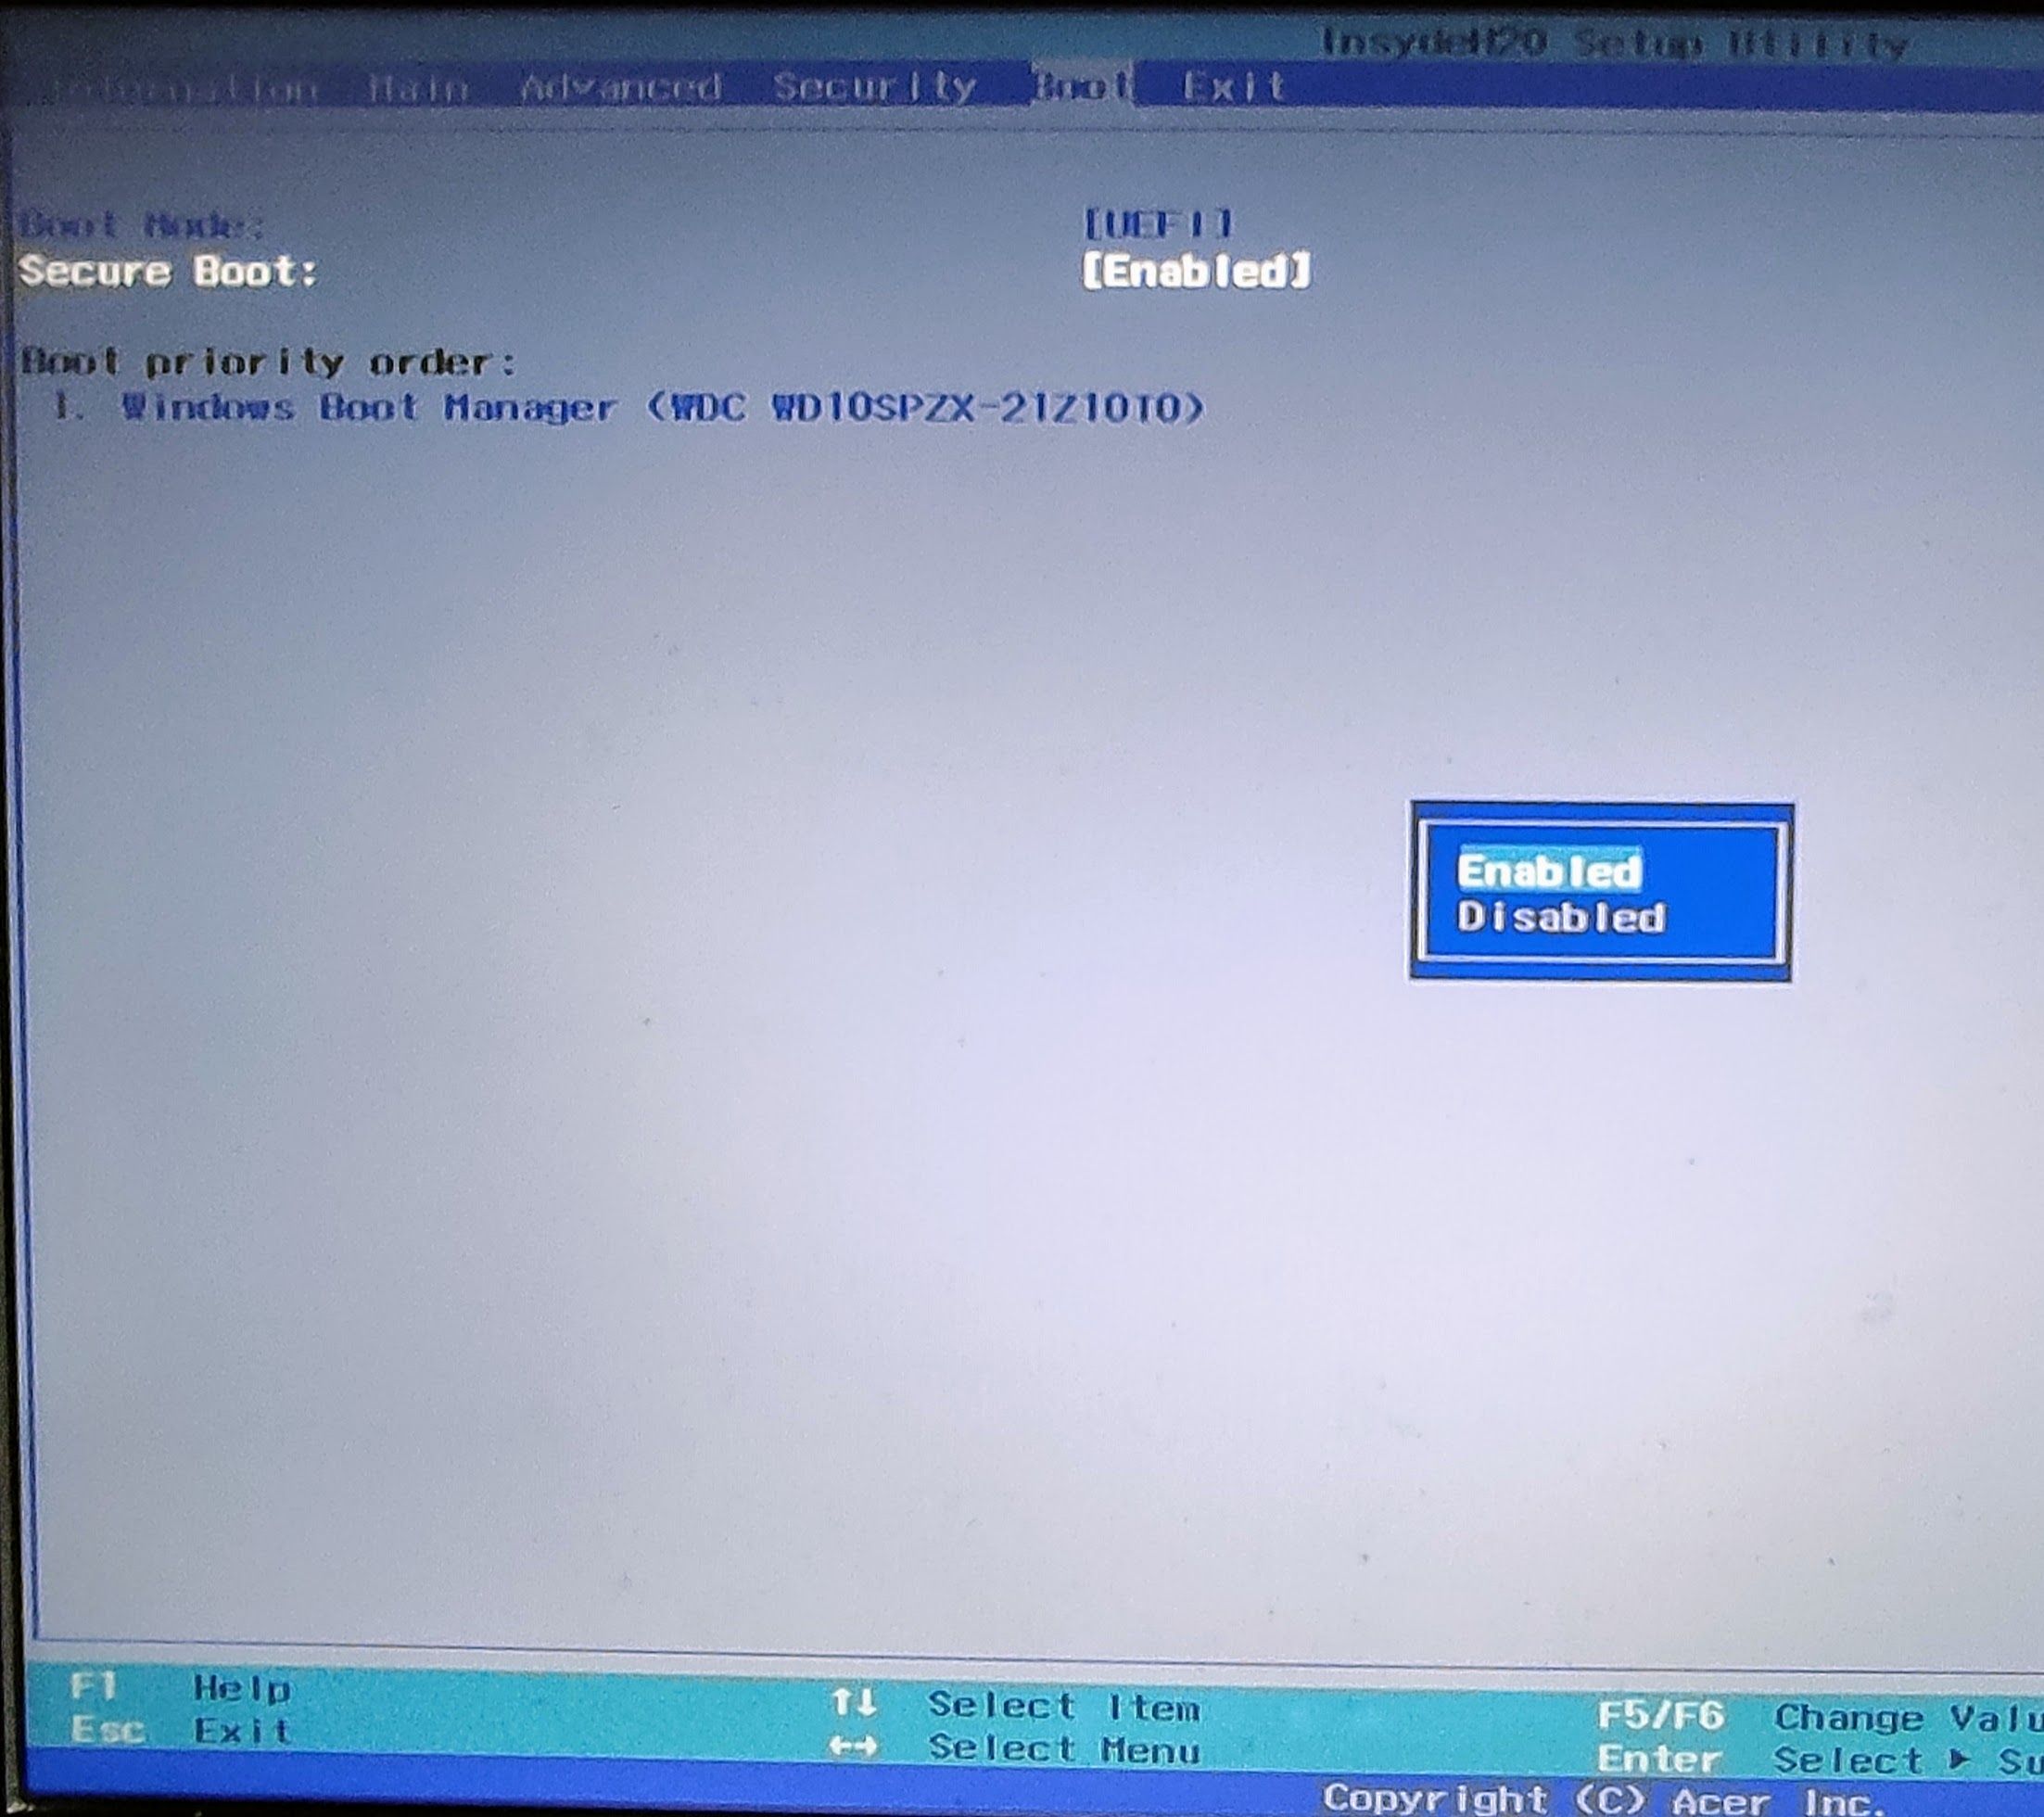
8. Go to the Secure Boot option and press Enter. Select Enabled.
Alternatively, you can access the motherboard firmware settings by pressing the F12 key multiple times as soon as your PC starts. It might be a different key to open the firmware settings depending upon the device manufacturer.