
Whether you're using a smartphone or a laptop, taking screenshots has become crucial in today's digital age. Screenshots allow you to quickly share the information displayed on your screen.
While taking a screenshot on a smartphone is straightforward, you might wonder how to do it on a laptop. If you're using a Dell laptop or any other brand, there are several methods available for capturing screenshots. In this article, we will tell you how to take a screenshot on a Dell laptop in just a few steps.
3 Ways To Take Screenshots In Dell Laptops
With these techniques, you can easily take screenshots on your Dell or any other laptop. These techniques are straightforward to use. here’s how:
Take a Screenshot On The Laptop Using the PrtSC Key
That’s right the easiest way to take screenshots on your Dell laptop is to use the PrtSc key. PrtSc is the dedicated key provided on the keyboards by the manufacturers for taking screenshots.
To take a screenshot using PrtSc:
- Go to the screen you want to take a screenshot of.
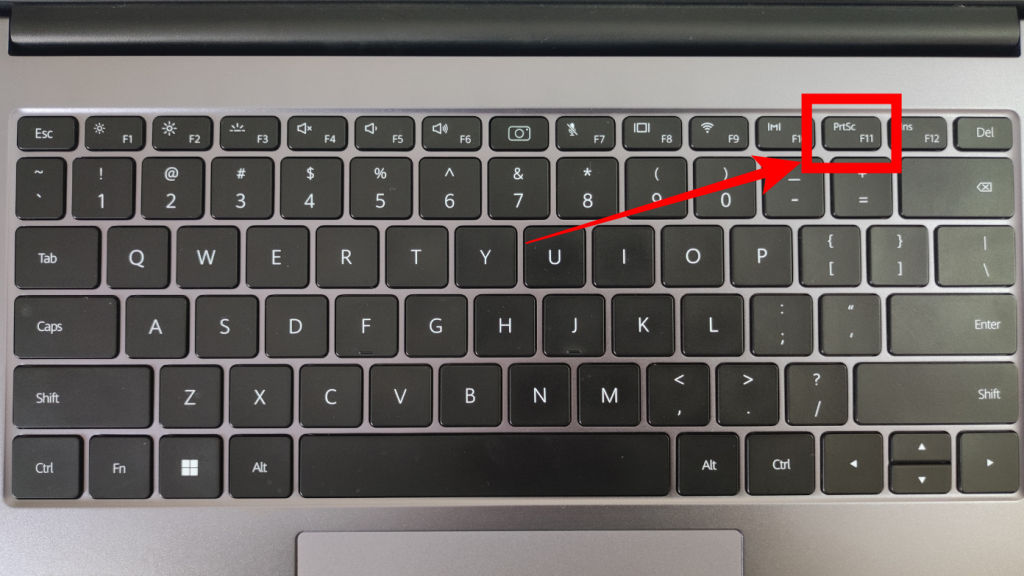
- Once you are on the screen, go to your keyboard and press the PrntSc Key.
(Note: PrntSc key can be found on the right-most corner of the function key row on your laptop keyboard)
That’s it. Your screenshot is now taken and can be found inside the Pictures folder on your computer inside a dedicated screenshot folder.
Take a Screenshot On a Dell Laptop Using Windows And PrntSc Combination Key
That’s right! If for some reason your laptop keeps opening the Windows Snipping tool with the PrntSc key then you can use the Windows Key + PrntSc Key combination to take an instant screenshot.
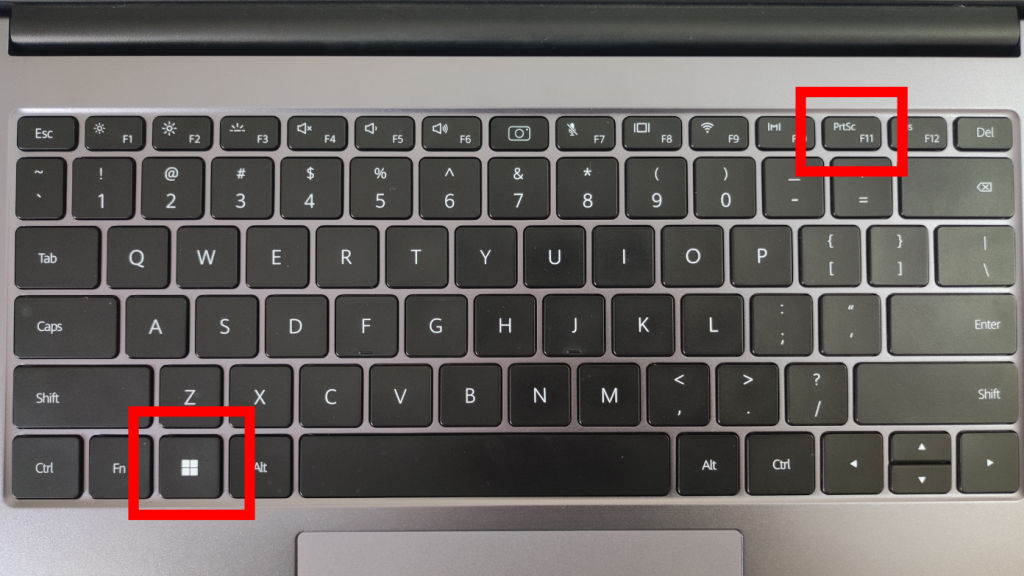
To take screenshots using the key combination click Windows Logo + PrntSc simultaneously on your laptop. This will help you take a screenshot.
For some reason, if your Dell laptop is still not taking a screenshot, you can check one more method listed below to take a screenshot on your laptop.
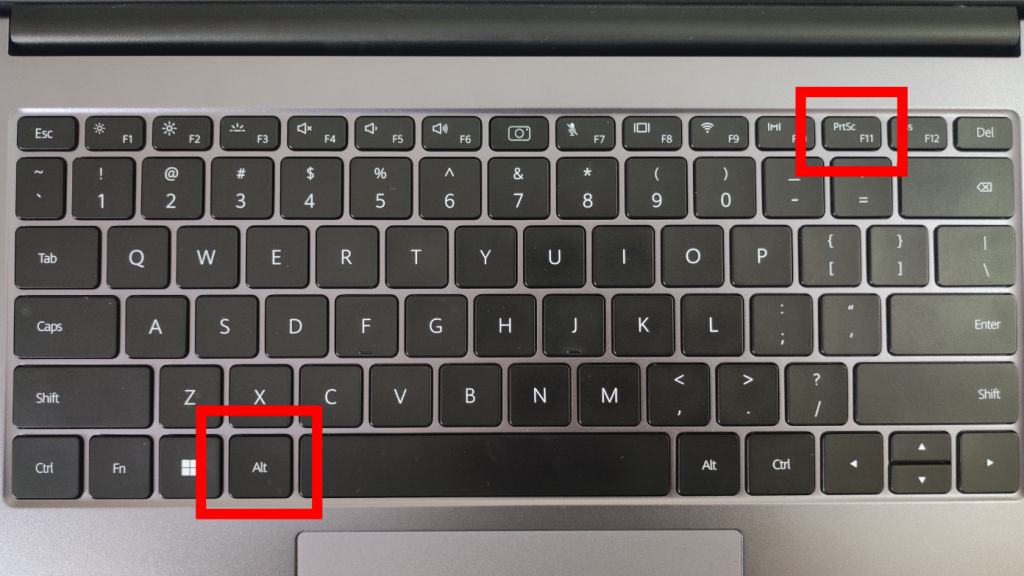
How To Take Screenshot Using Alt Key And PrntSc Key Combination
This is the last resort if your laptop is still not taking screenshots using any of the above-mentioned methods. Just click the Alt key + PrntSc keys together to save the screenshot on your laptop. That is all it takes to capture screenshots on your Dell or any other laptop.
Hope this helped you to take screenshots on your Dell laptops. But what if you want to change the default functionality of your PrntSc from taking a screenshot to opening the Windows Snipping Tool?
How To Configure PrntSc To Open Snipping Tool?
Windows Snipping tool is a much more advanced screenshot tool baked right into your laptop. You can configure the PrntSc key to open the Windows Snipping tool upon clicking here’s how:
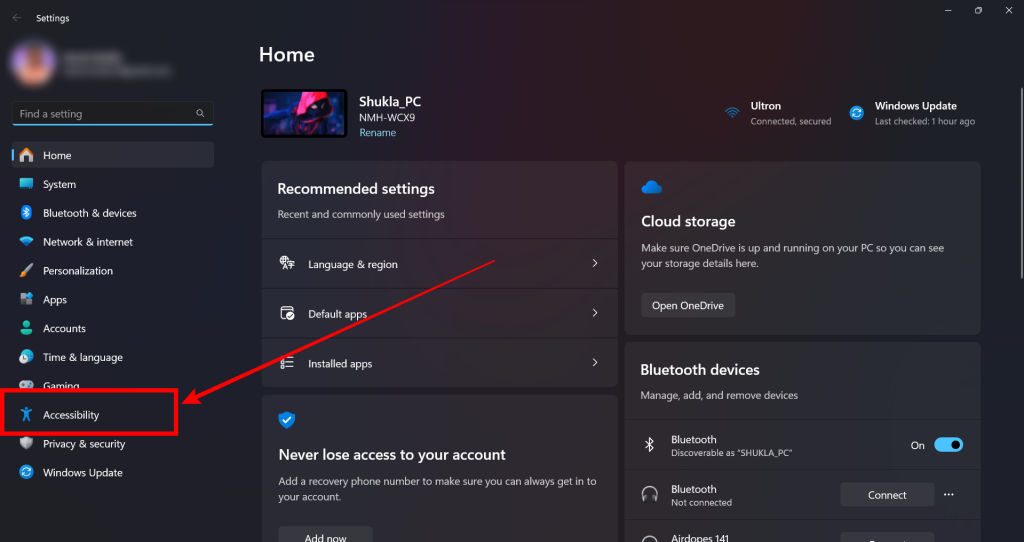
- Open the Windows Settings menu.
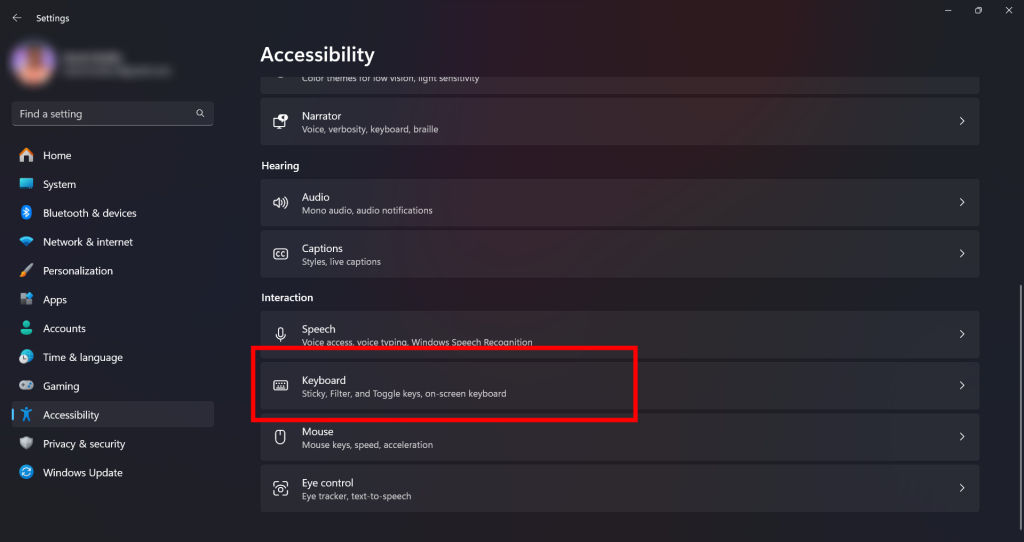
- Select the Accessibility menu from the right menu pane.
3. Scroll down to the Interaction section and select Keyboard.
4. Find the Use the Print Screen key to open the Snipping Tool option.
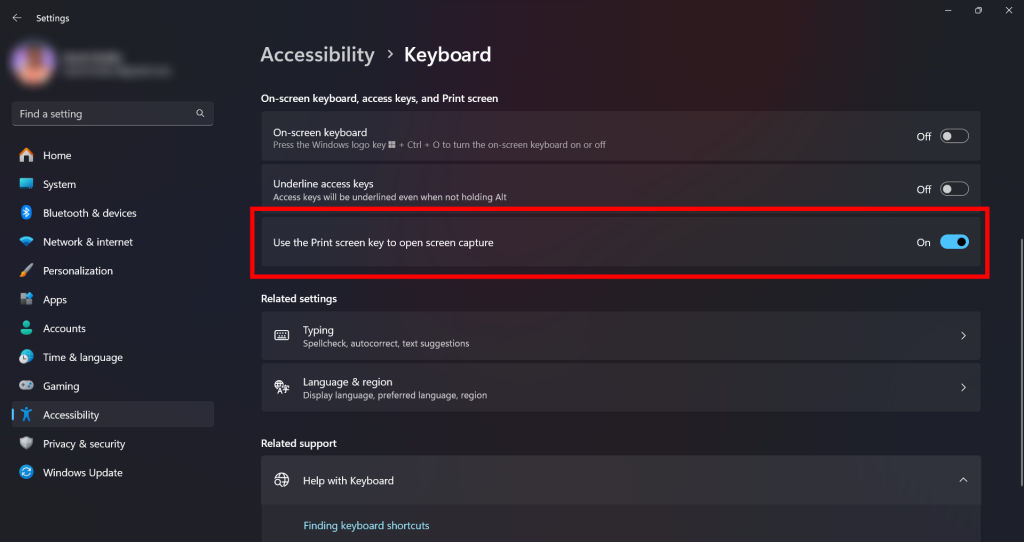
5. Toggle the setting On.
This is it, now you can use the much more advanced Snipping tool to take screenshots on your laptops. The Snipping tool is much more intuitive and easy to use so keeping it a click away only makes sense.
FAQs
Q. What is the easiest way to take Screenshots on Dell laptops?
You can click the PrntSc key located in the top right corner of your keyboard to easily take screenshots on your Dell Laptops.
Q. Which Third-party app can be used to take Screenshots on a Dell laptop?
You can use third-party tools such as Lightshot, Greenshot, and Screenpresso; To take screenshots on your Dell laptop.
Q. Where can I find screenshots taken on my Dell laptop?
You can find your screenshots inside the Screenshot folder in the Pictures tab on My Computer.