Keeping your subject in focus is the most important thing when it comes to editing photos. Having an eye-catching view is a good thing, but most of the time the subject lacks attention. Therefore, we recommend keeping your subject with the full attention in the image. To give your subject the most attention, use a background colour that is clean and expose the subject’s colour, White is the most preferred colour to go with. We have listed some of the best online photo editors to change the background colour of your photo to white, you can also use these online photo editors to remove the background from your picture. Here are the best online photo editors and here’s how you can change the background colour to white.
Also Read: Watermark Remover: How to Remove Watermark from a Video Online for Free on Mobile and Laptop
List of Best Free Online Photo Editors to Change Background Colour to White
- removebg
- Fotor
- Clipping Magic
- Pixlr
- Canva
removebg

If you are looking for an online editor that can remove background from your picture in a simple way, removebg is the best tool to go for. Plus, it is fast and provides high-quality editing of your images. One of our favourite features of the application is that you don’t need to do anything other than uploading your file and downloading it, everything on this website is done automatically. Additionally, if you want to make any changes to your picture, you can do that as well. The removebg also provides you with two subscription plans that give you extra perks. Also, you can integrate removebg into your Adobe Photoshop software.
Also Read: Best Camera Apps of 2022: Adobe Photoshop Camera, Cymera, and More
How to Use removebg to Remove Background
- Go to https://www.remove.bg/.
- You can either drag and drop it to the website or upload it from your file manager.
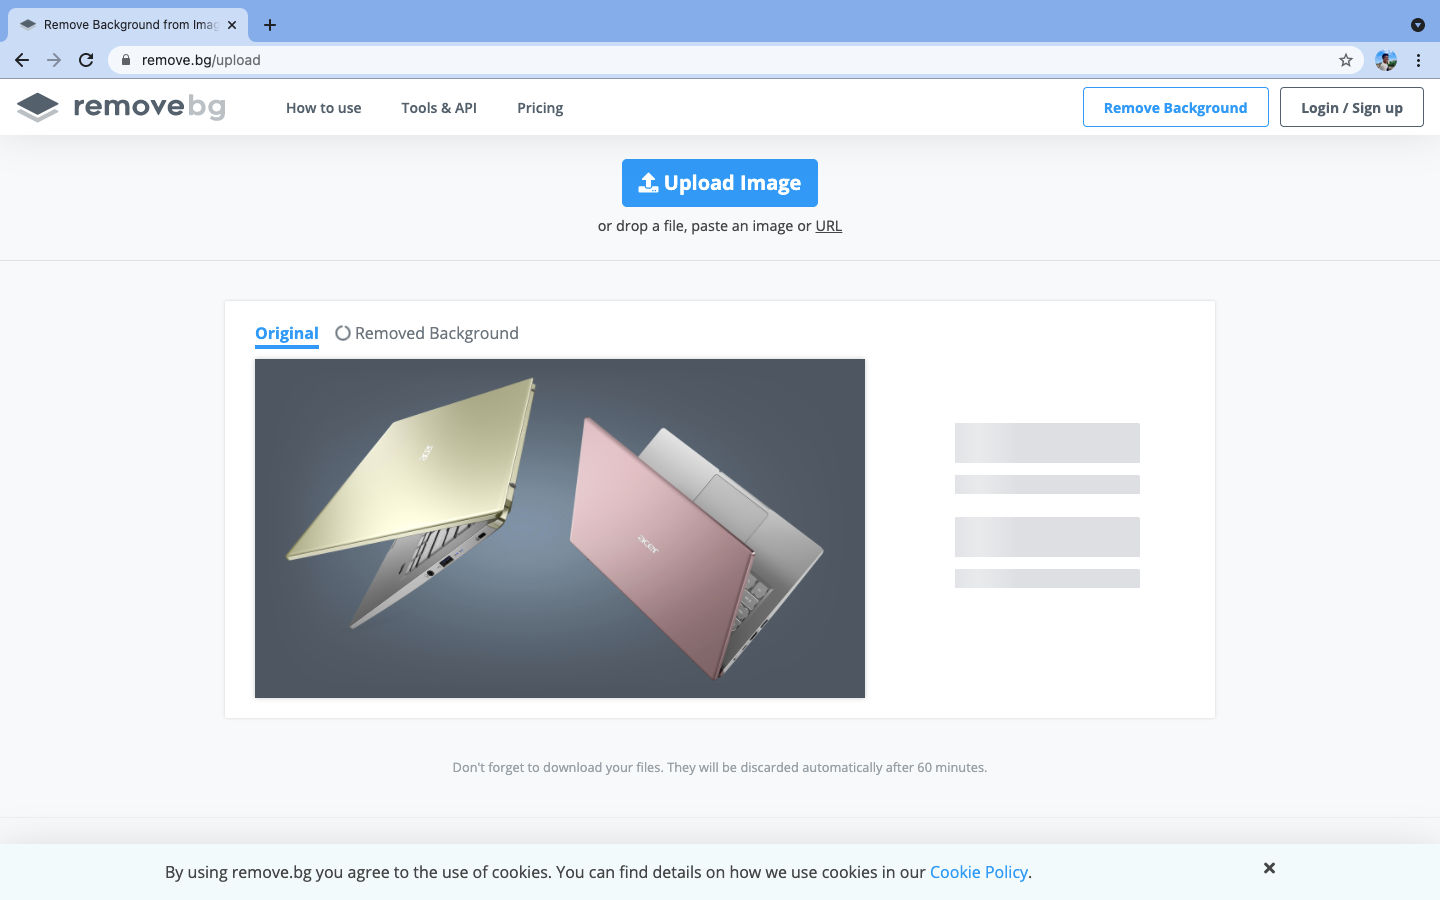
- Once uploaded, the image will be processed automatically and the background will be removed.
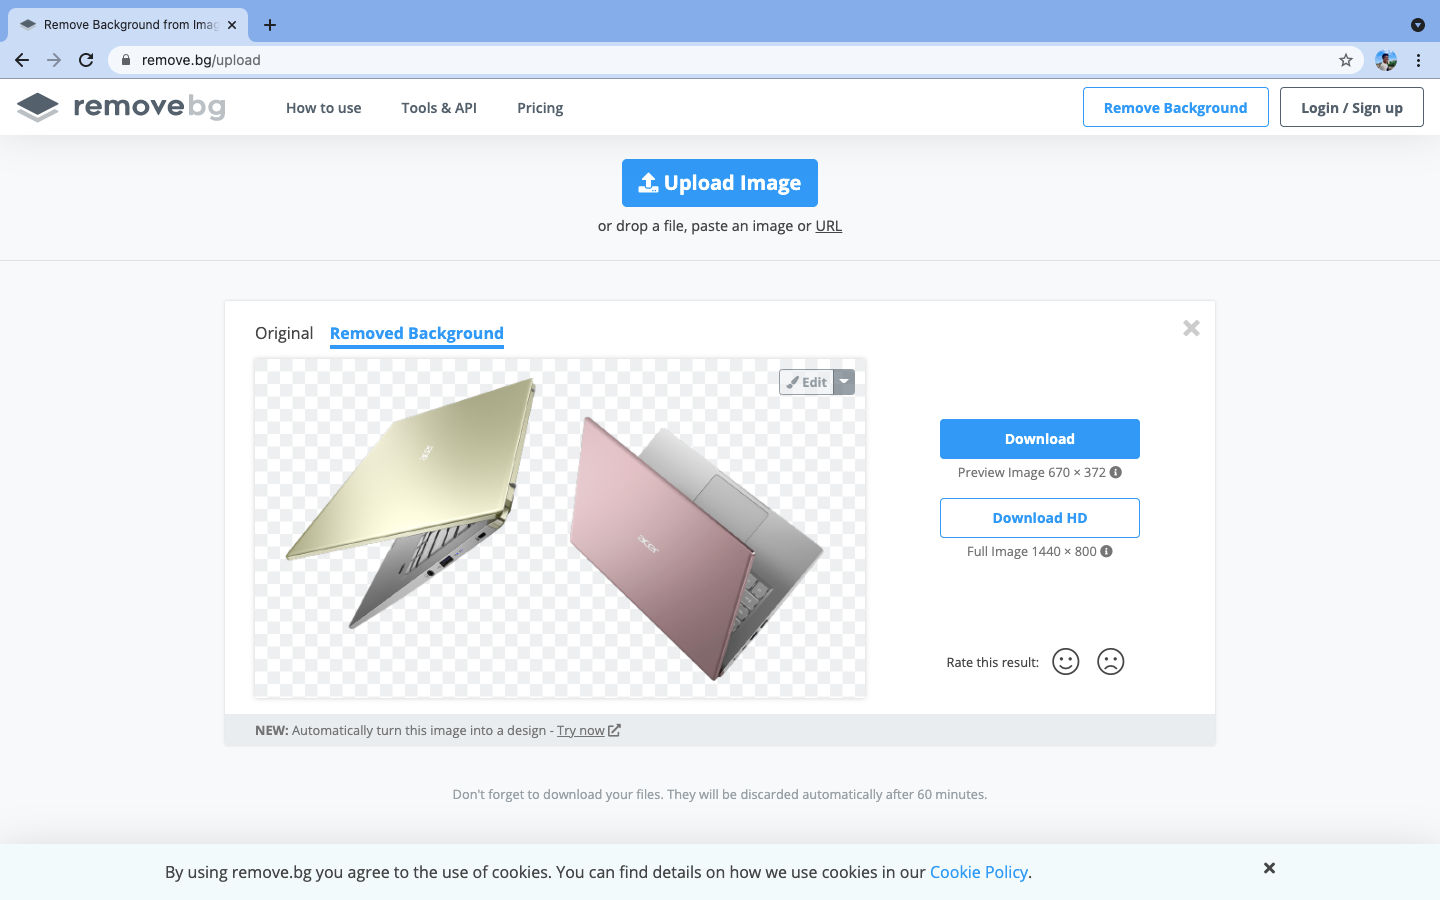
- You can also edit the background by clicking the background button, plus you can erase or restore a specific section from the image.
- The final file will be available in two sizes: 670×372 i.e good quality and 1440×800 i.e best quality. You need to sign up to get the high quality image for free.
removebg: Pros and Cons
| Pros | Cons |
| Simple and easy method | Very few options to modify the image |
| Fast processing |
Fotor

Fotor is an online photo editor and a collage maker as well as a proper desktop application for photo editing. You can either use the online version of Fotor or you can download it to access all features. We recommend you use the online version for light editing tasks. There is an option to upgrade to the Pro version to unlock the full features. Fotor provides you with three options on its homepage: Edit a photo, Create a design and Make a collage. It provides multiple features to edit your picture: Crop & resizes images, Background remover, Photo enhancer, Powerful blemish remover, Wrinkle remover, Amazing photo effects. Fotor provides the basic options to tune your pictures along with some of its key features such as Effect panel and 1-Tap Enhance.
Also Read: Best Android APK Download Sites 2022: APK Mirror, APK Pure, Aptoide, and More
How to Use Fotor to Remove Background
- Go to https://www.fotor.com/ and click on ‘Create a design’.

- Select your picture size, Fotor comes with preloaded templates that you can use.
- Upload your image, make sure that you are signed up on Fotor as it is required to upload your own image.
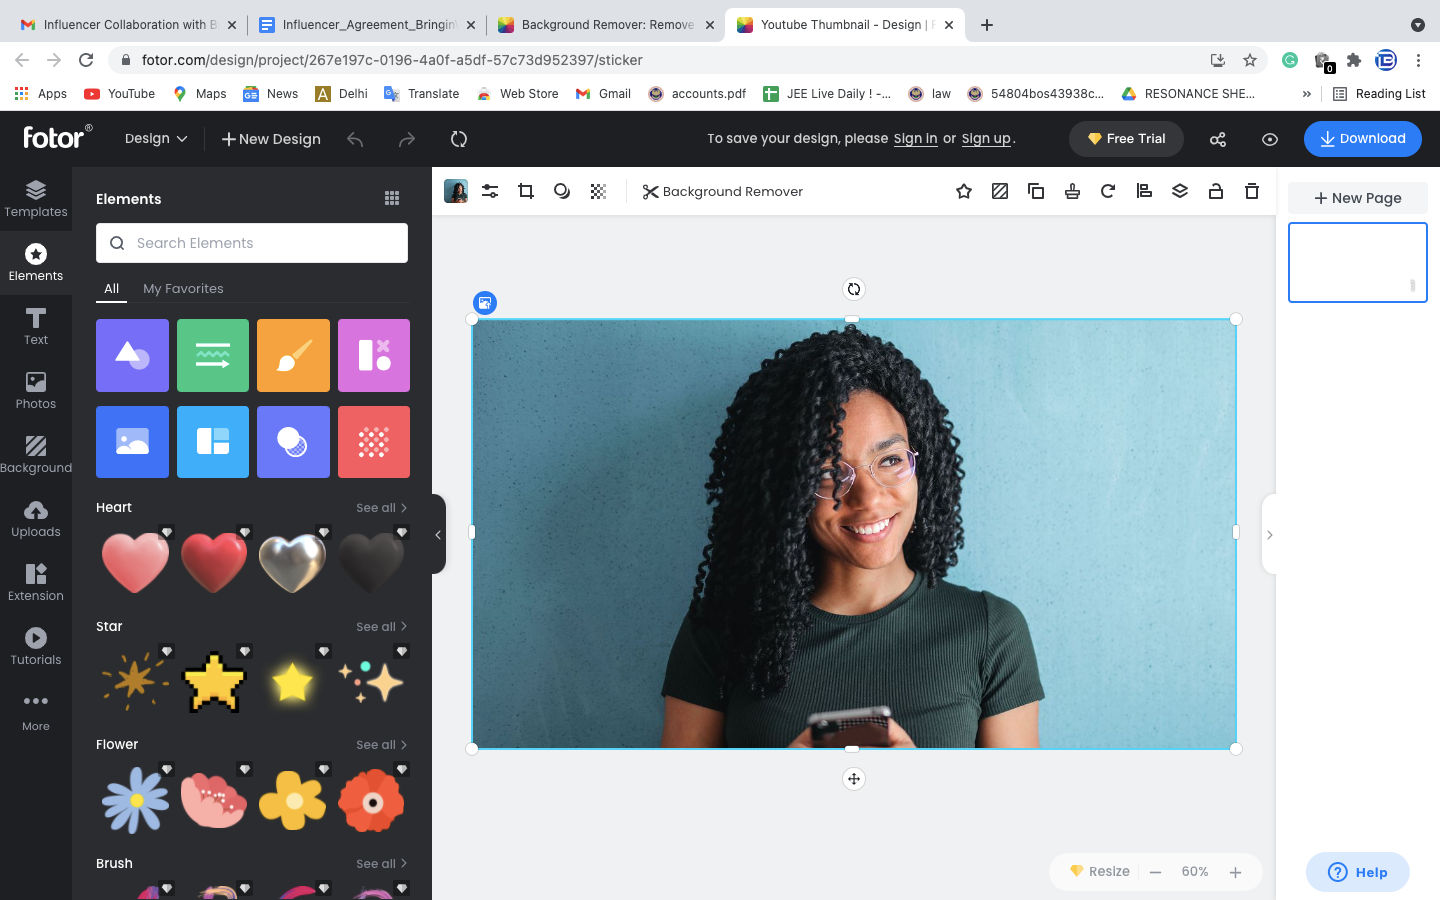
- Select the picture and now, you can see the ‘Background Remover’ option on top. It will show you two options which are the pro features of Fotor: Smart Portrait Cutout and Custom Cutout.
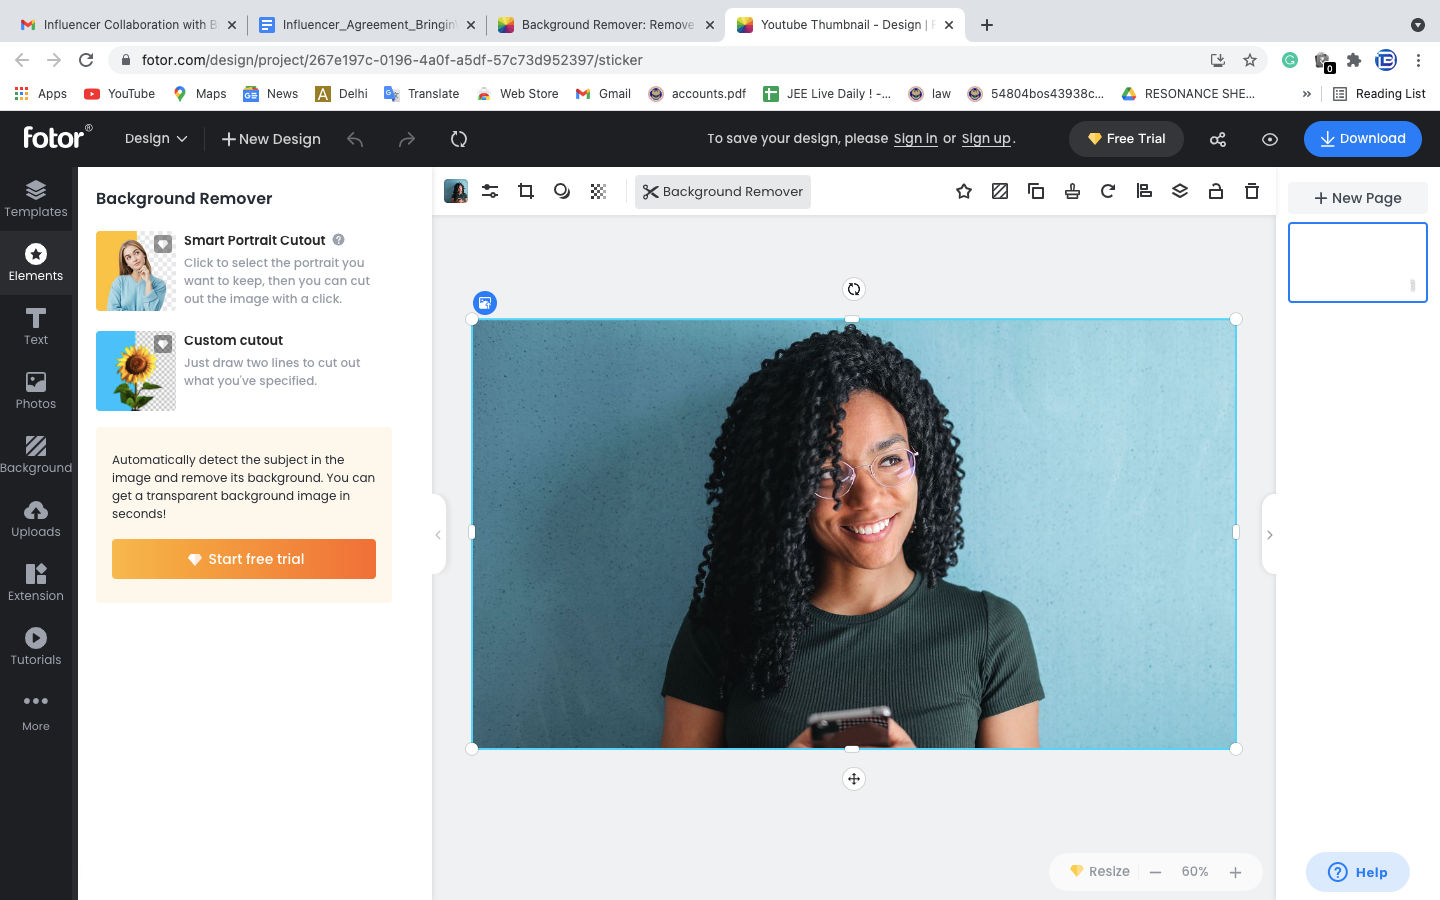
- You can use any option to remove the background image. Now just go to the background option on the left and select the white background.
- Click on Download in the top right corner and save your final image.
Fotor: Pros and Cons
| Pros | Cons |
| 1-Tap Enhance feature | No RAW support for Online version |
| Effect Panel | Background remover is a pro feature |
Also Read: JPG to PDF: How to Convert JPG Image to PDF File Free Online Using Smartphone or Laptop
Clipping Magic
Clipping Magic is simpler than Fotor and is very easy to use. The sole purpose of Clipping Magic is limited to removing or changing the background of the picture. The best part of this tool is that it detects the subject automatically and removes the backgrounds, users don’t even need to intervene in the process, they can just upload their image and get the result. However, Clipping Magic gives you the option to tune the image, crop it or adjust the shadows. It also gives users the ability to remove or keep specifically selected areas in the image. There are three different subscription options to get access to a high quality image without any watermark.
How to Use Clipping Magic to Remove Background
Follow these steps to change the background colour of the image to White using Clipping Magic:
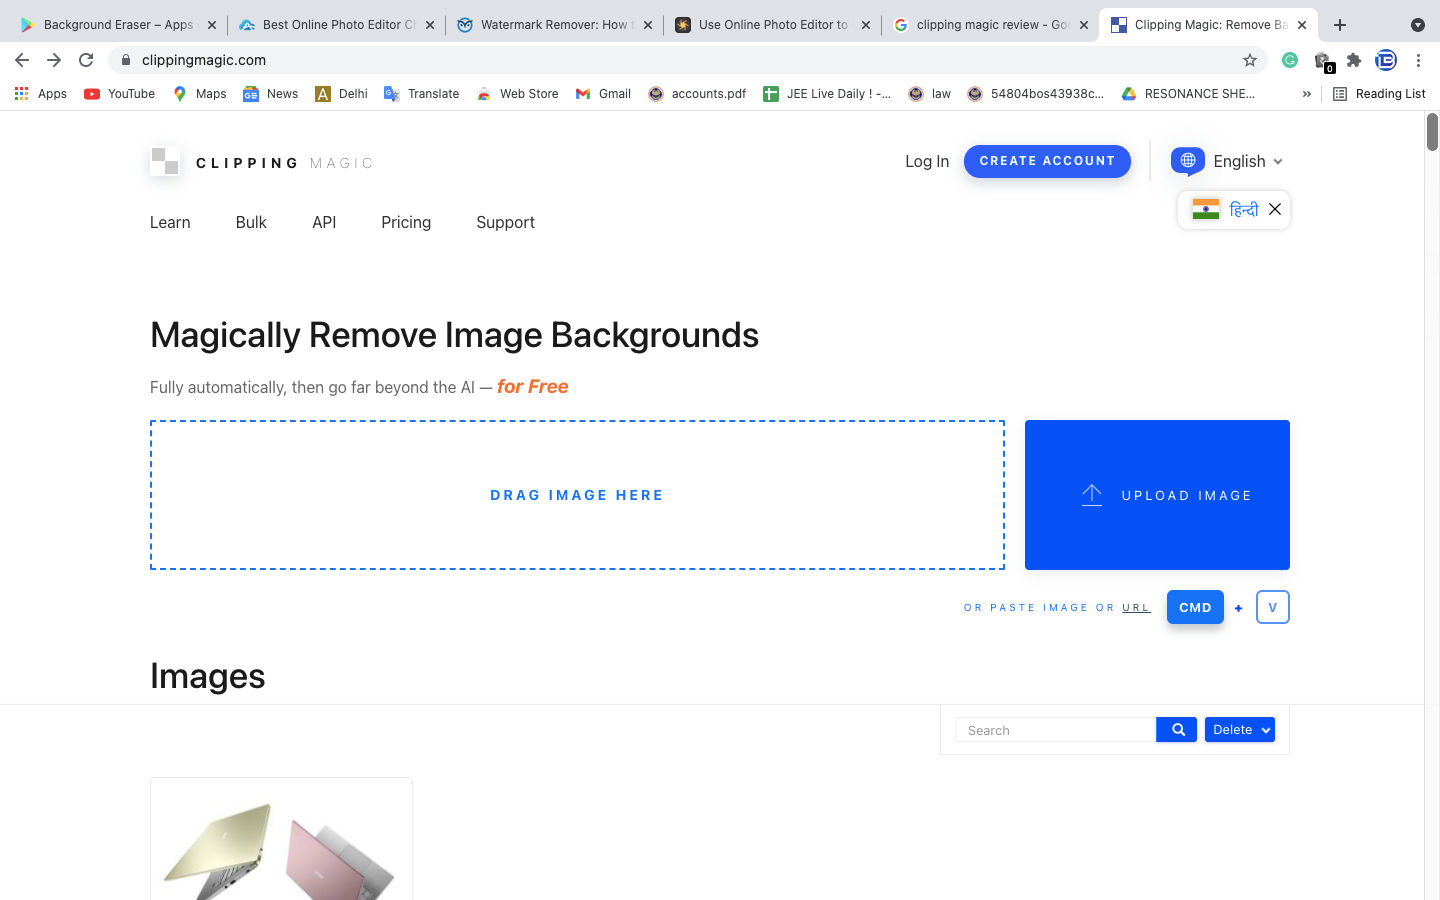
- Go to https://clippingmagic.com/
- Upload your image and it will take you to the editing tool
- It will show 2 slides where one is the original image and the other with no background image. Clipping Magic will remove the background automatically.
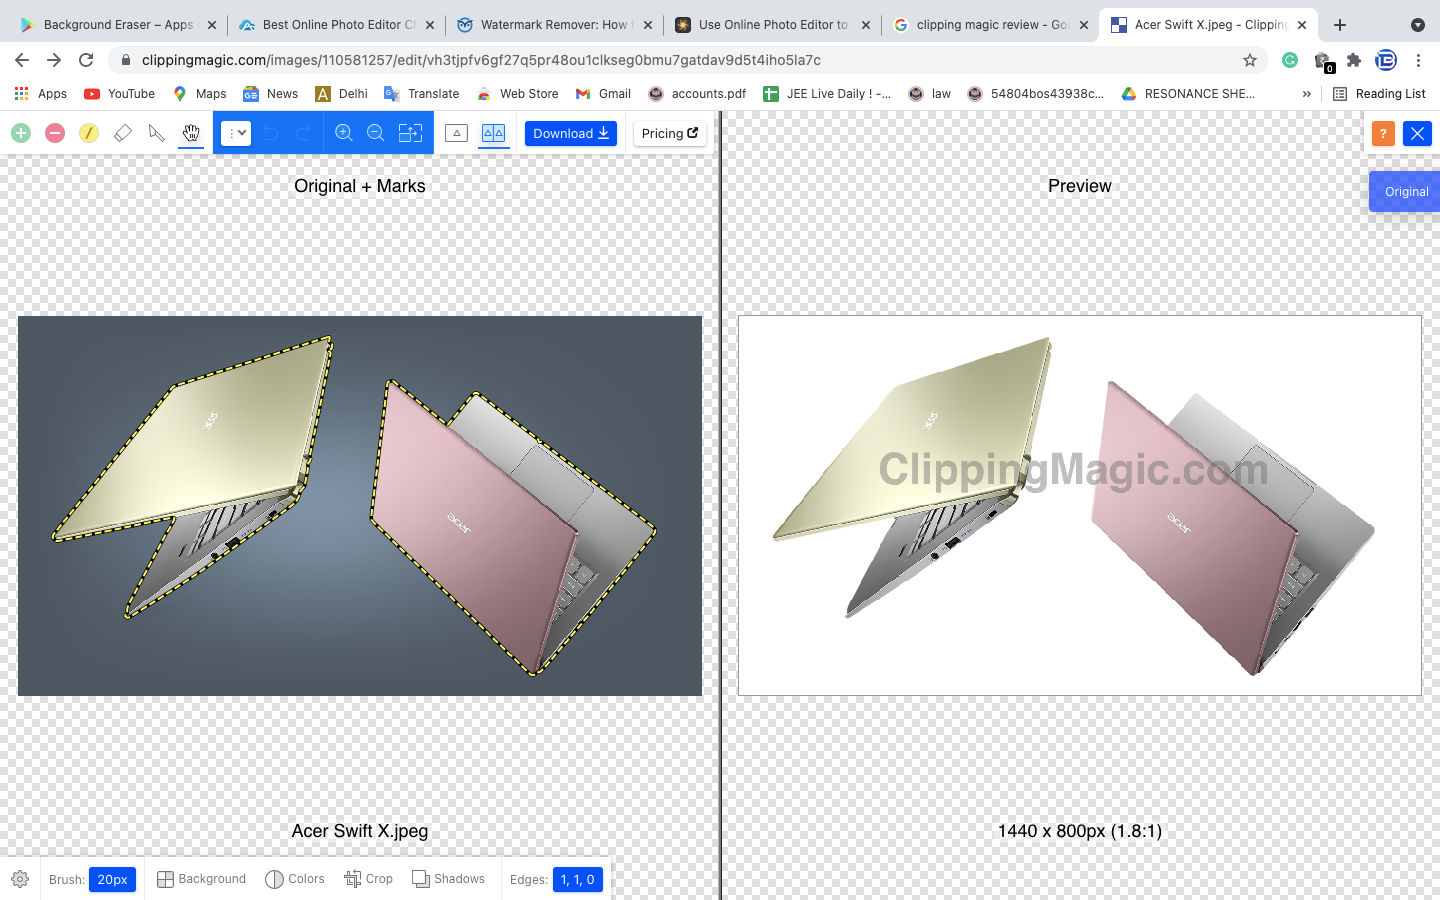
- Now click on the background in the bottom left corner, it will show you various colours. Choose White and download your image.
That’s it, you have to change the background of your picture to White. We hope you found the Clipping Magic tool very useful and easy to use.
Clipping Magic: Pros and Cons
| Pros | Cons |
| Detects the subject and remove the background | Require credits to save results after 1 download |
| Multiple background options | Limited to clipping tool only |
Also Read: YouTube Thumbnail: How to Create YT Thumbnail Free Online, Size, Resolution, Aspect Ratio and More
Pixlr
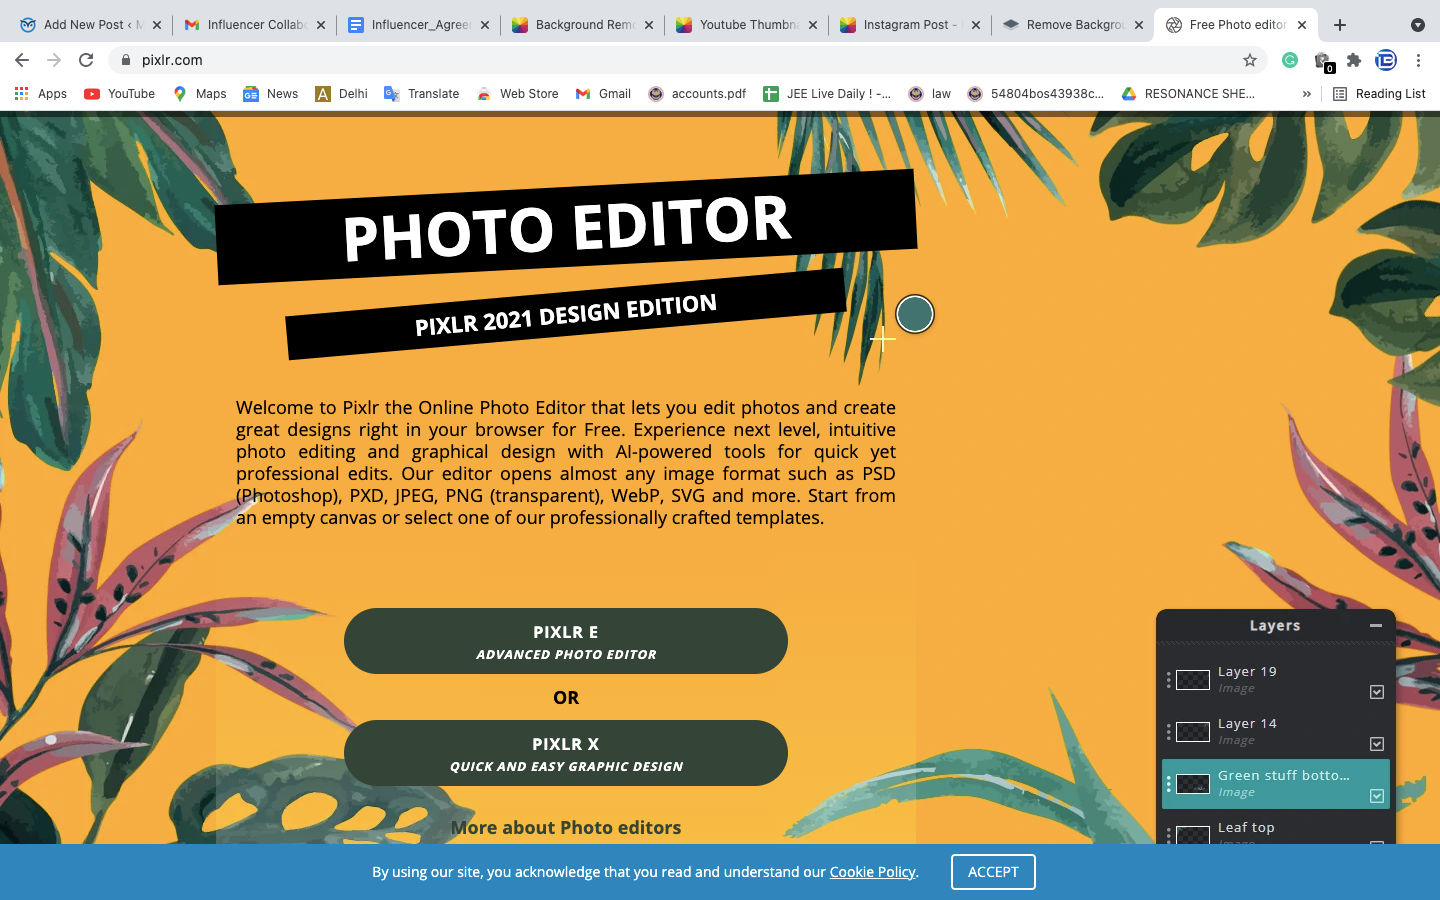
Pixlr can also be referred to as online Photoshop as it gives a Photoshop-like interface and various options to edit the image. The Pixlr Editor’s main earning source is from the ads, that’s why there is a 20% space reserved on the right side for the ads. And, don’t even think about using adblocker as the tool will not work after that. The Pixlr tool has a plethora of features in it, be it either basic touch or anything else. Pixlr is a good cloud based editing tool and offers several advantages to the editor. Pixlr will show you two options on the home page to choose from Pixlr E for advanced photo editor and Pixlr X for quick and easy editing. We will be using Pixlr X to change the background colour of the image to white.
How to Use Pixlr to Remove Background
- Go to https://pixlr.com/ and click on the Pixlr X option.
- Now, it will ask you to upload the image. Once uploaded, it will take you to the tool.
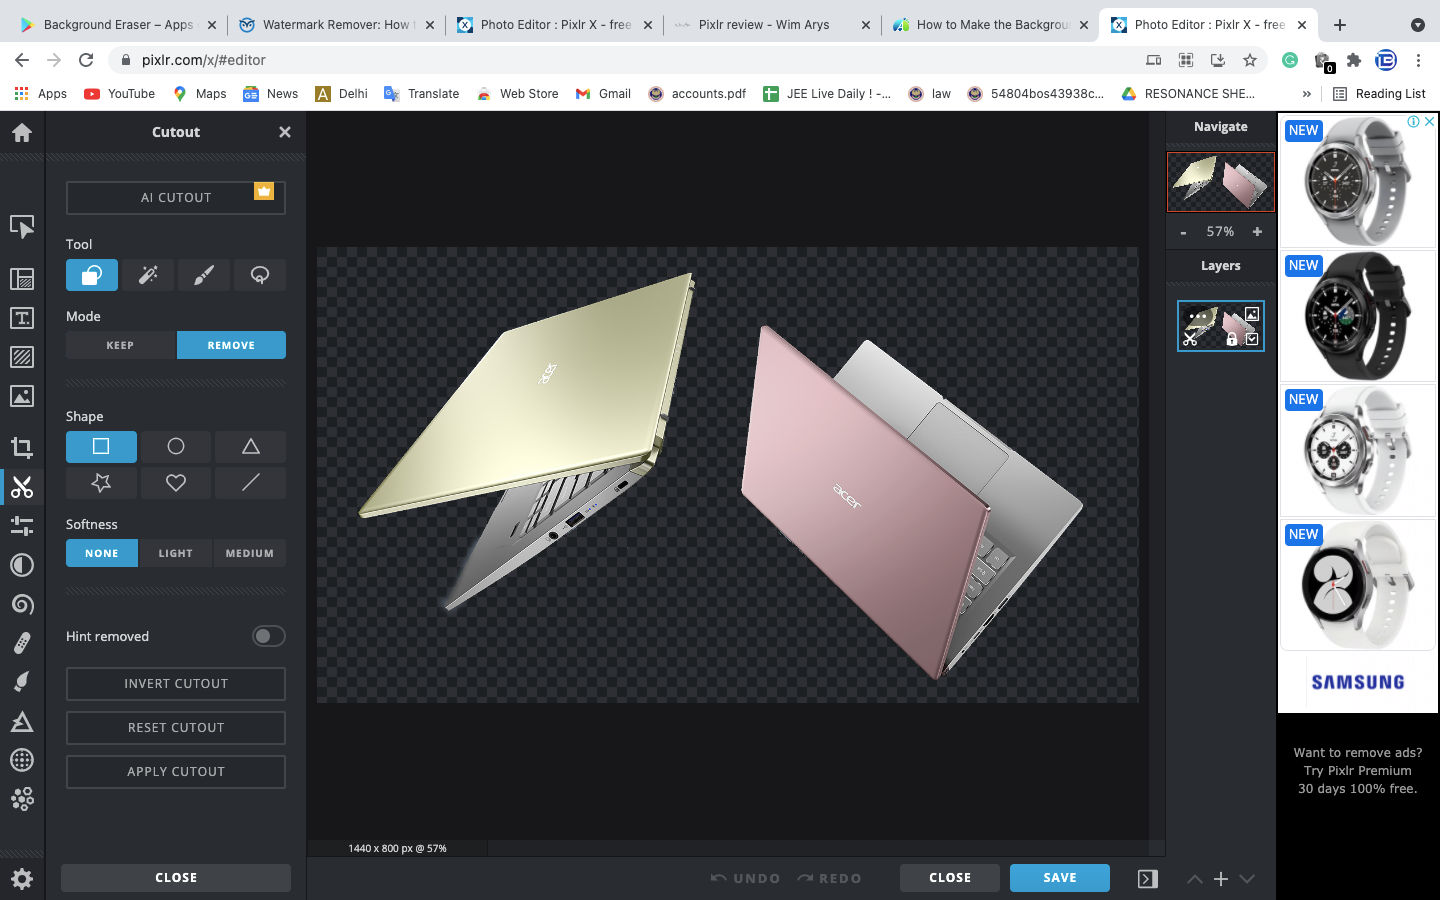
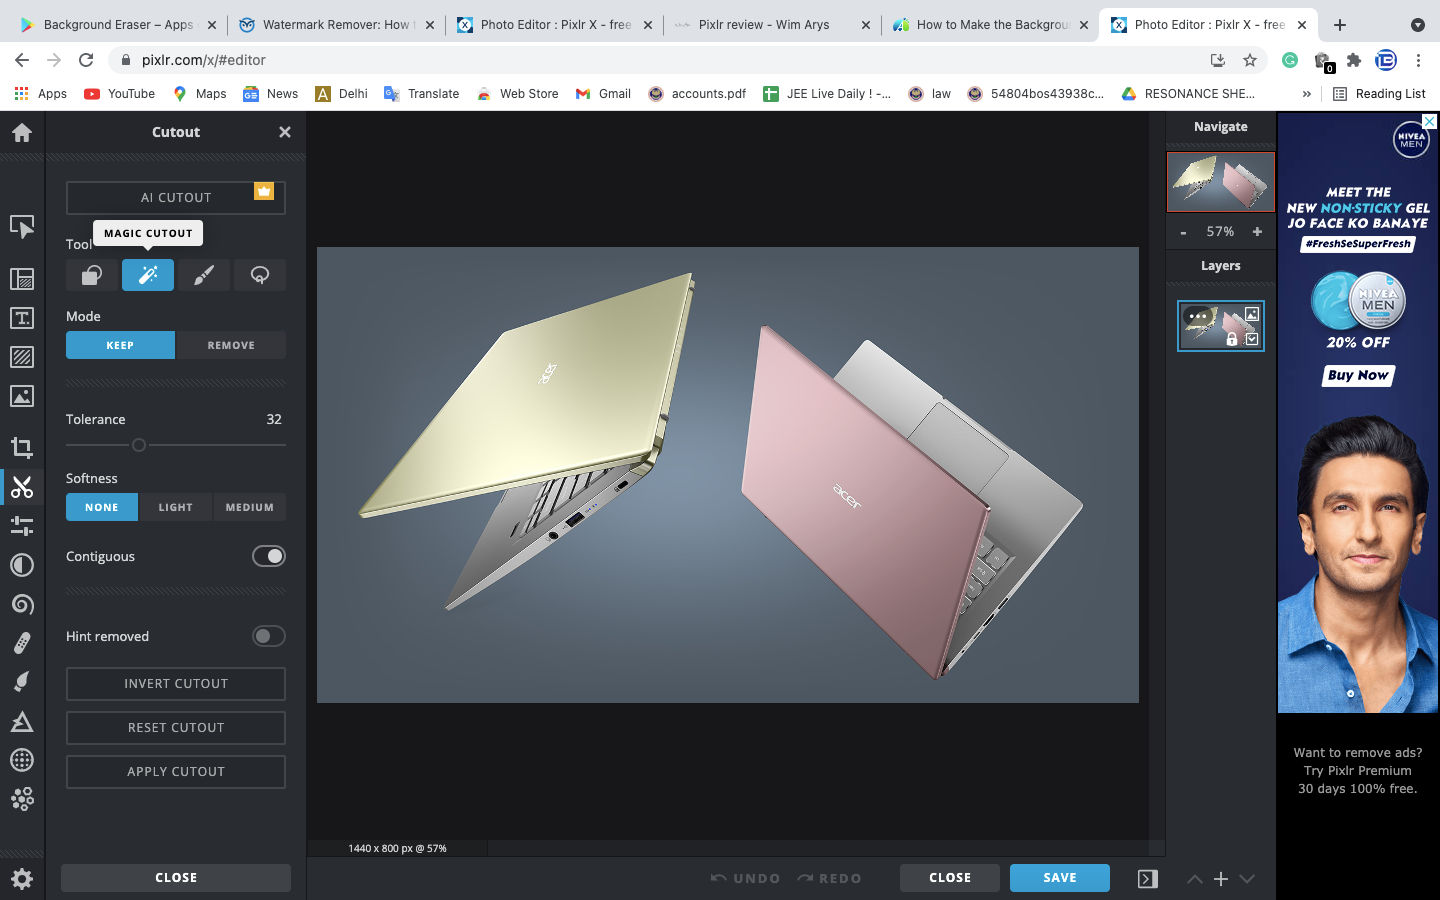
- To remove the background, check out the ‘Cutout’ tool from the list on the left. Select ‘Magic Cutout’ to remove the background automatically or else you can use the other options available to select the desired areas.
- Move your pointer to the background area you want to remove and click there, it will remove a similar area from the image.
- Now, go to the list of tools again and choose ‘Layout & Template’, and turn on the background option and choose the white colour.
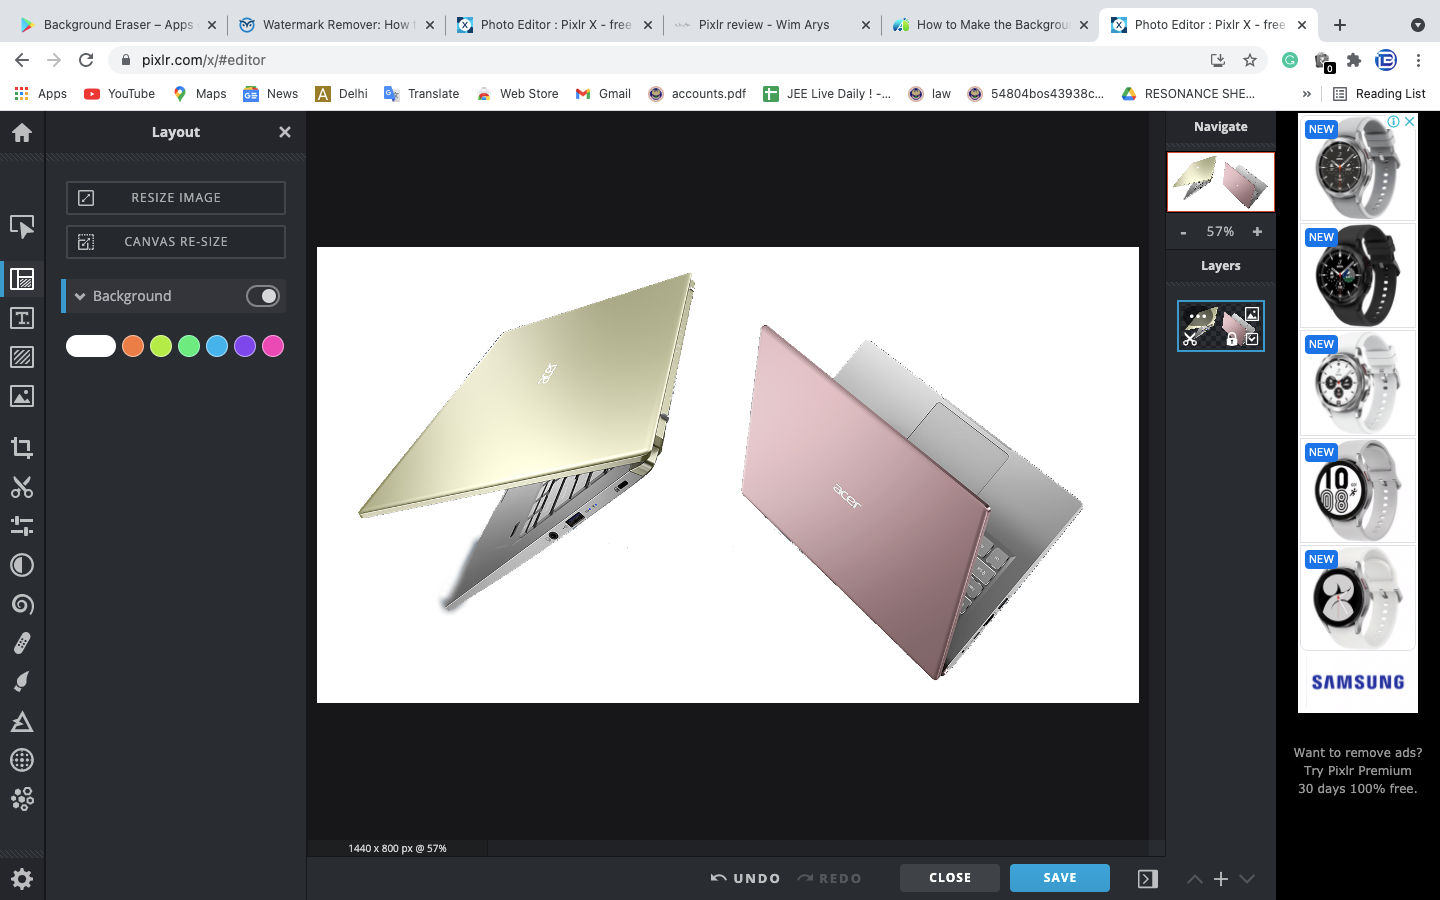
- Now, click on save and Voila, your image has been downloaded.

Pixlr: Pros and Cons
| Pros | Cons |
| Supports layers and masks | Ads take 20% of the screen |
| Customisable interface | Magic Remover Tool doesn’t work accurately |
Canva

Canva is one of the best online photo editing tools out there. It has a fantastic, easy-to-use UI with tons of editing options at your disposal. Among them is the option to remove background from an image. With just a single click, Canva automatically removes the background from the subject. The only catch is that you cannot manually edit the parts of the object that Canva might have removed. That said, Canva does a fantastic job at identifying the edges of the subject while removing the background of the image. Unfortunately, the background remover in Canva comes under the software’s premium subscription priced at Rs 500 per month or Rs 3,999 per year.
How to Use Canva to Remove Background
1. Go to Canva.com
2. Click on Create a design in the top-right corner and select a size.

3. Select the Upload tab on the left and click on Upload Media. Choose the file of which you want to change the background to white. You can also drag and drop the file from your PC to the Upload section in Canva.
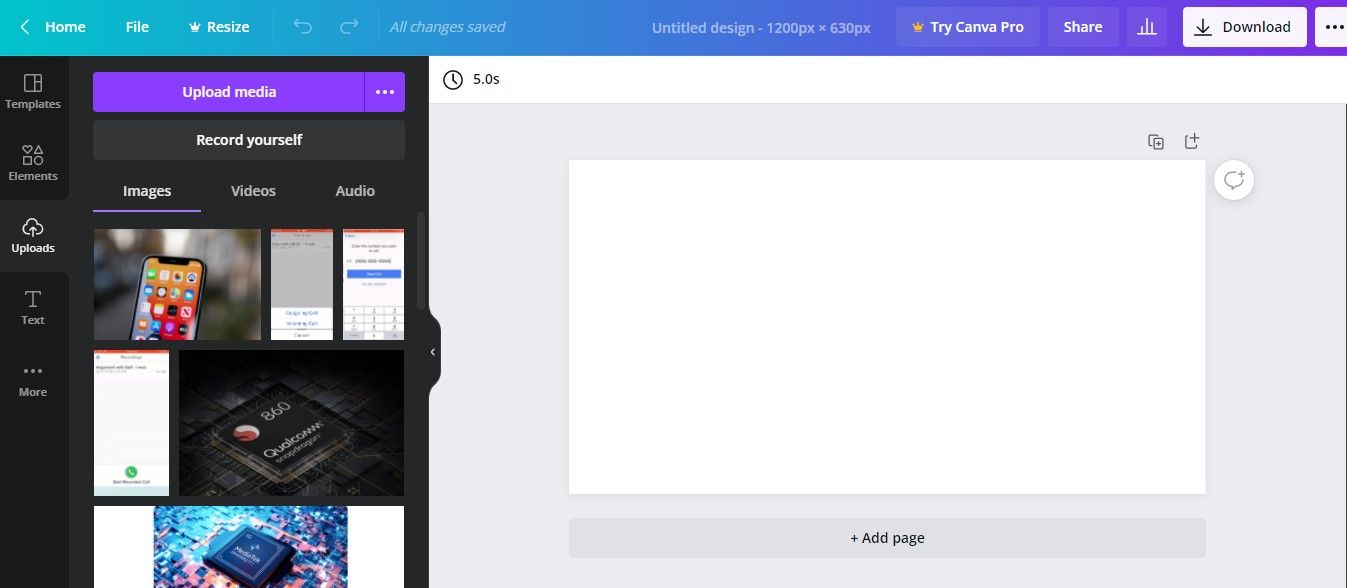
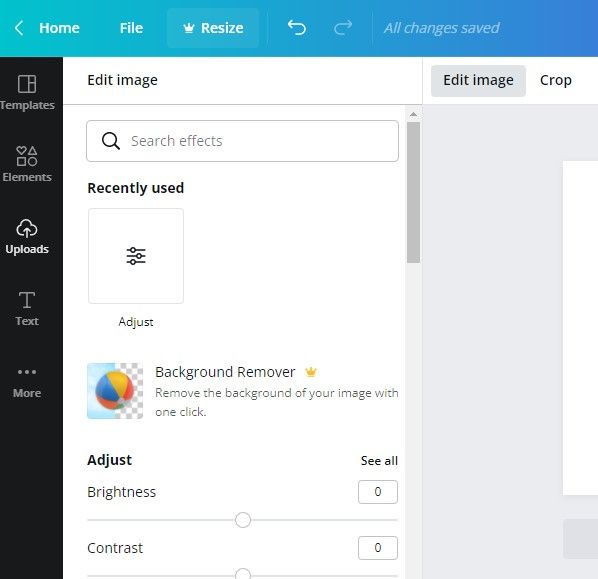
4. Once the image appears on the edit board on the right, select it and click on Edit image.
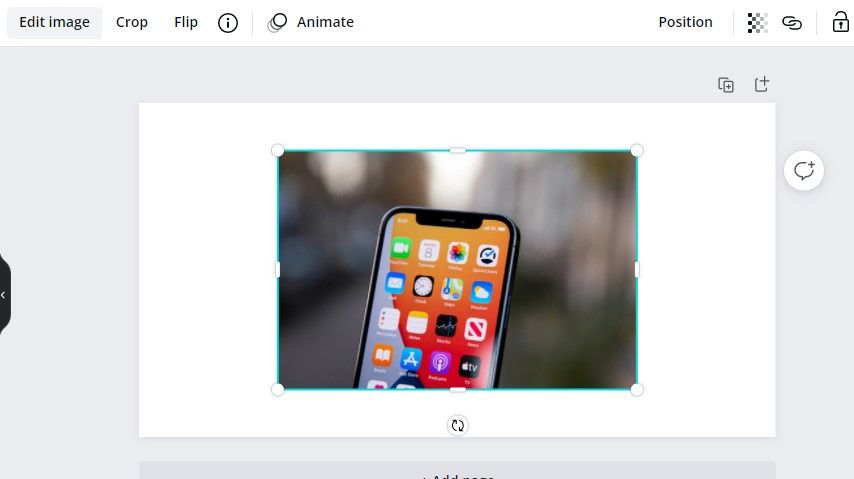
5. Click on Background Remover in the pop-up window.
Canva: Pros and Cons
| Pros | Cons |
| All-rounder photo editor | No additional settings for background remover |
| Intuitive interface | Professional editing tools missing |
These are some of the best free online photo editors that you can try to convert your image background colour to white. Which one do you think is better? Let us know in the comments section.