It is extremely important to check the battery health of your device, as it helps ensure smooth and efficient functioning as well as increases the overall longevity of the system. With time, the batteries tend to degrade and become less reliable but users can maintain their health by incorporating some preventive measures. Below in the article, we have mentioned the different step-by-step guides on how to check battery health on a Windows laptop, MacBook, and Chromebook, followed by a few questions related to the same subject.
Steps to Check Battery Health on a Windows Laptop
The process to check battery health on a Windows laptop includes a bunch of built-in commands. Below, we have mentioned the step-by-step guide for the following concerns:
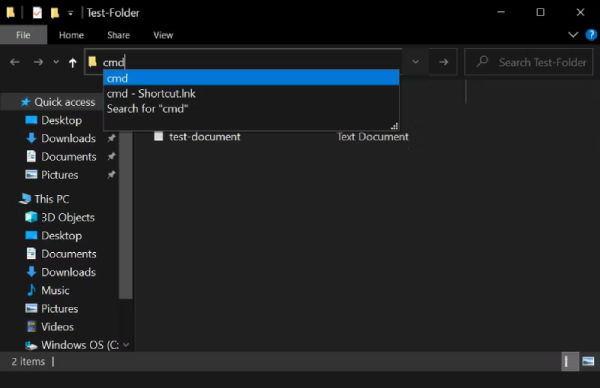
- Step 1: Tap the Windows key on your keyboard.

- Step 2: Type “cmd” or “Command Prompt” into the search box.
- Step 3: Right-click on “Command Prompt” and opt for “Run as administrator.”
- Step 4: In the Terminal or Command Prompt window, type “powercfg /batteryreport” and hit the Enter key.
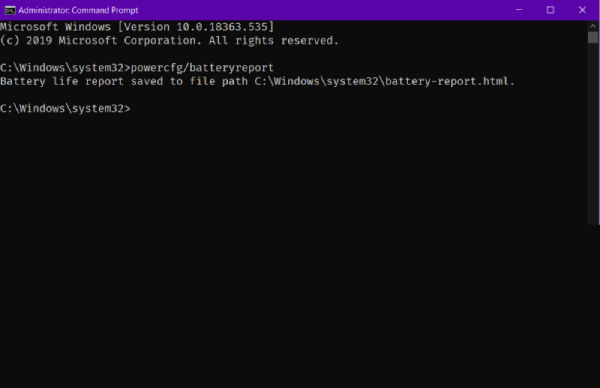
- Step 5: After carrying out the command, a battery report will be generated.
- Step 6: To gain access to the report’s contents, open File Explorer and navigate to C:\Windows\System32\battery-report.html.
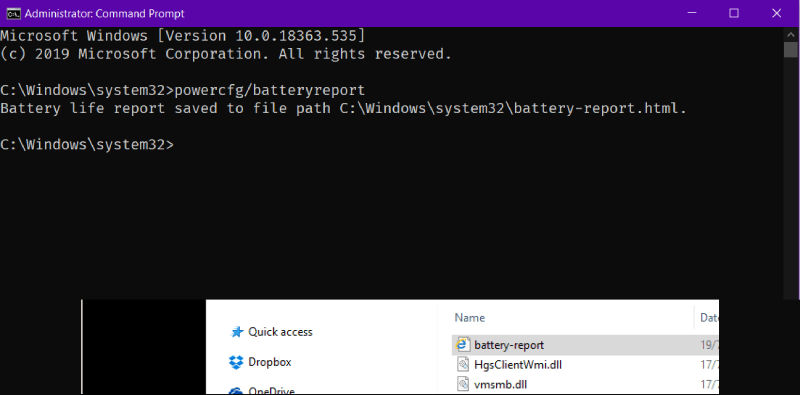
- Step 7: Double-click on the battery-report.html file to open your default web browser.
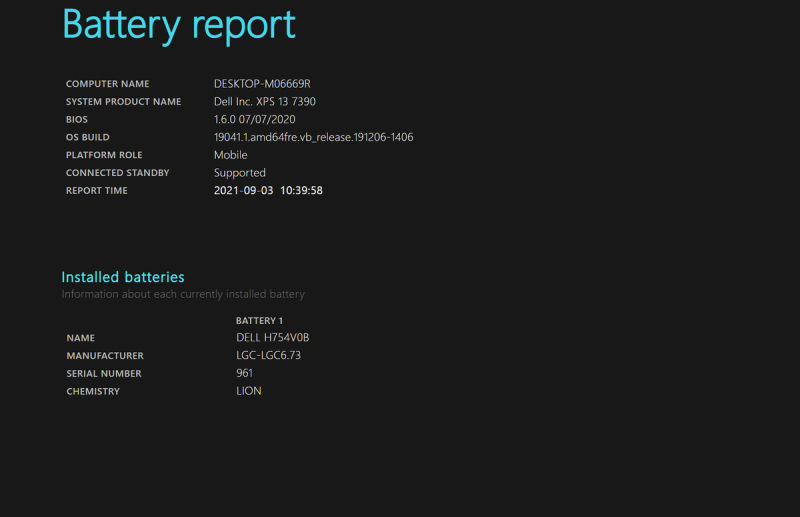
- Step 8: The report includes comprehensive data regarding your laptop’s battery health, capacity, and charging patterns.
Also read: How to Use ChatGPT: A Comprehensive Guide for Beginners
Steps to Check Battery Health on a MacBook
The steps involved if you are trying to check battery health on a MacBook are listed below:
- Step 1: Select the Apple menu from the top toolbar.
- Step 2: Select “About This Mac” and then “More Info,” afterwards”System Report“
- Step 3: In the System Information window, proceed to the “Hardware” section.
- Step 4: Within “Hardware,” choose “Power.”
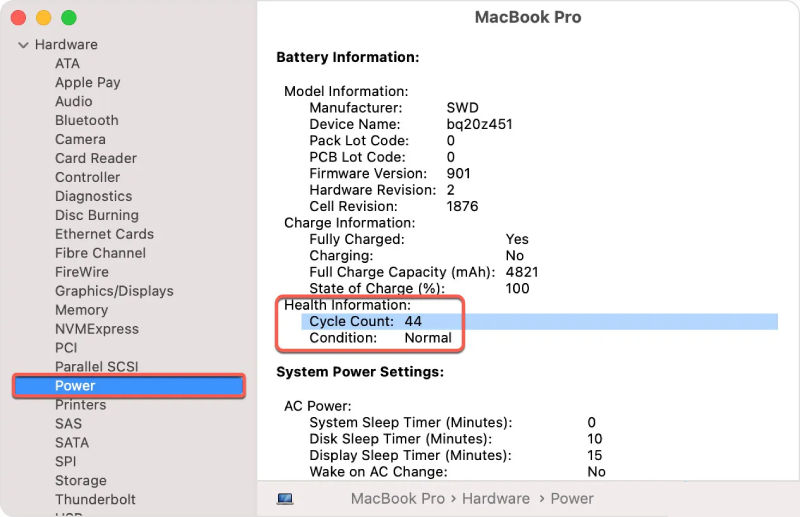
- Step 5: Look for “Health Information” to find the present Cycle Count.
- Step 6: In the same section, look for the “Condition” status and your battery’s maximum battery capacity.
Steps to Check Battery Health on a Chromebook
If you are worried about your battery health, then please be relaxed. All you have to do is follow these simple steps, and your Chromebook battery health will be displayed right before your screens.
- Step 1: To start using the ChromeOS launcher, click the small circle icon in the lower-left corner of the screen.
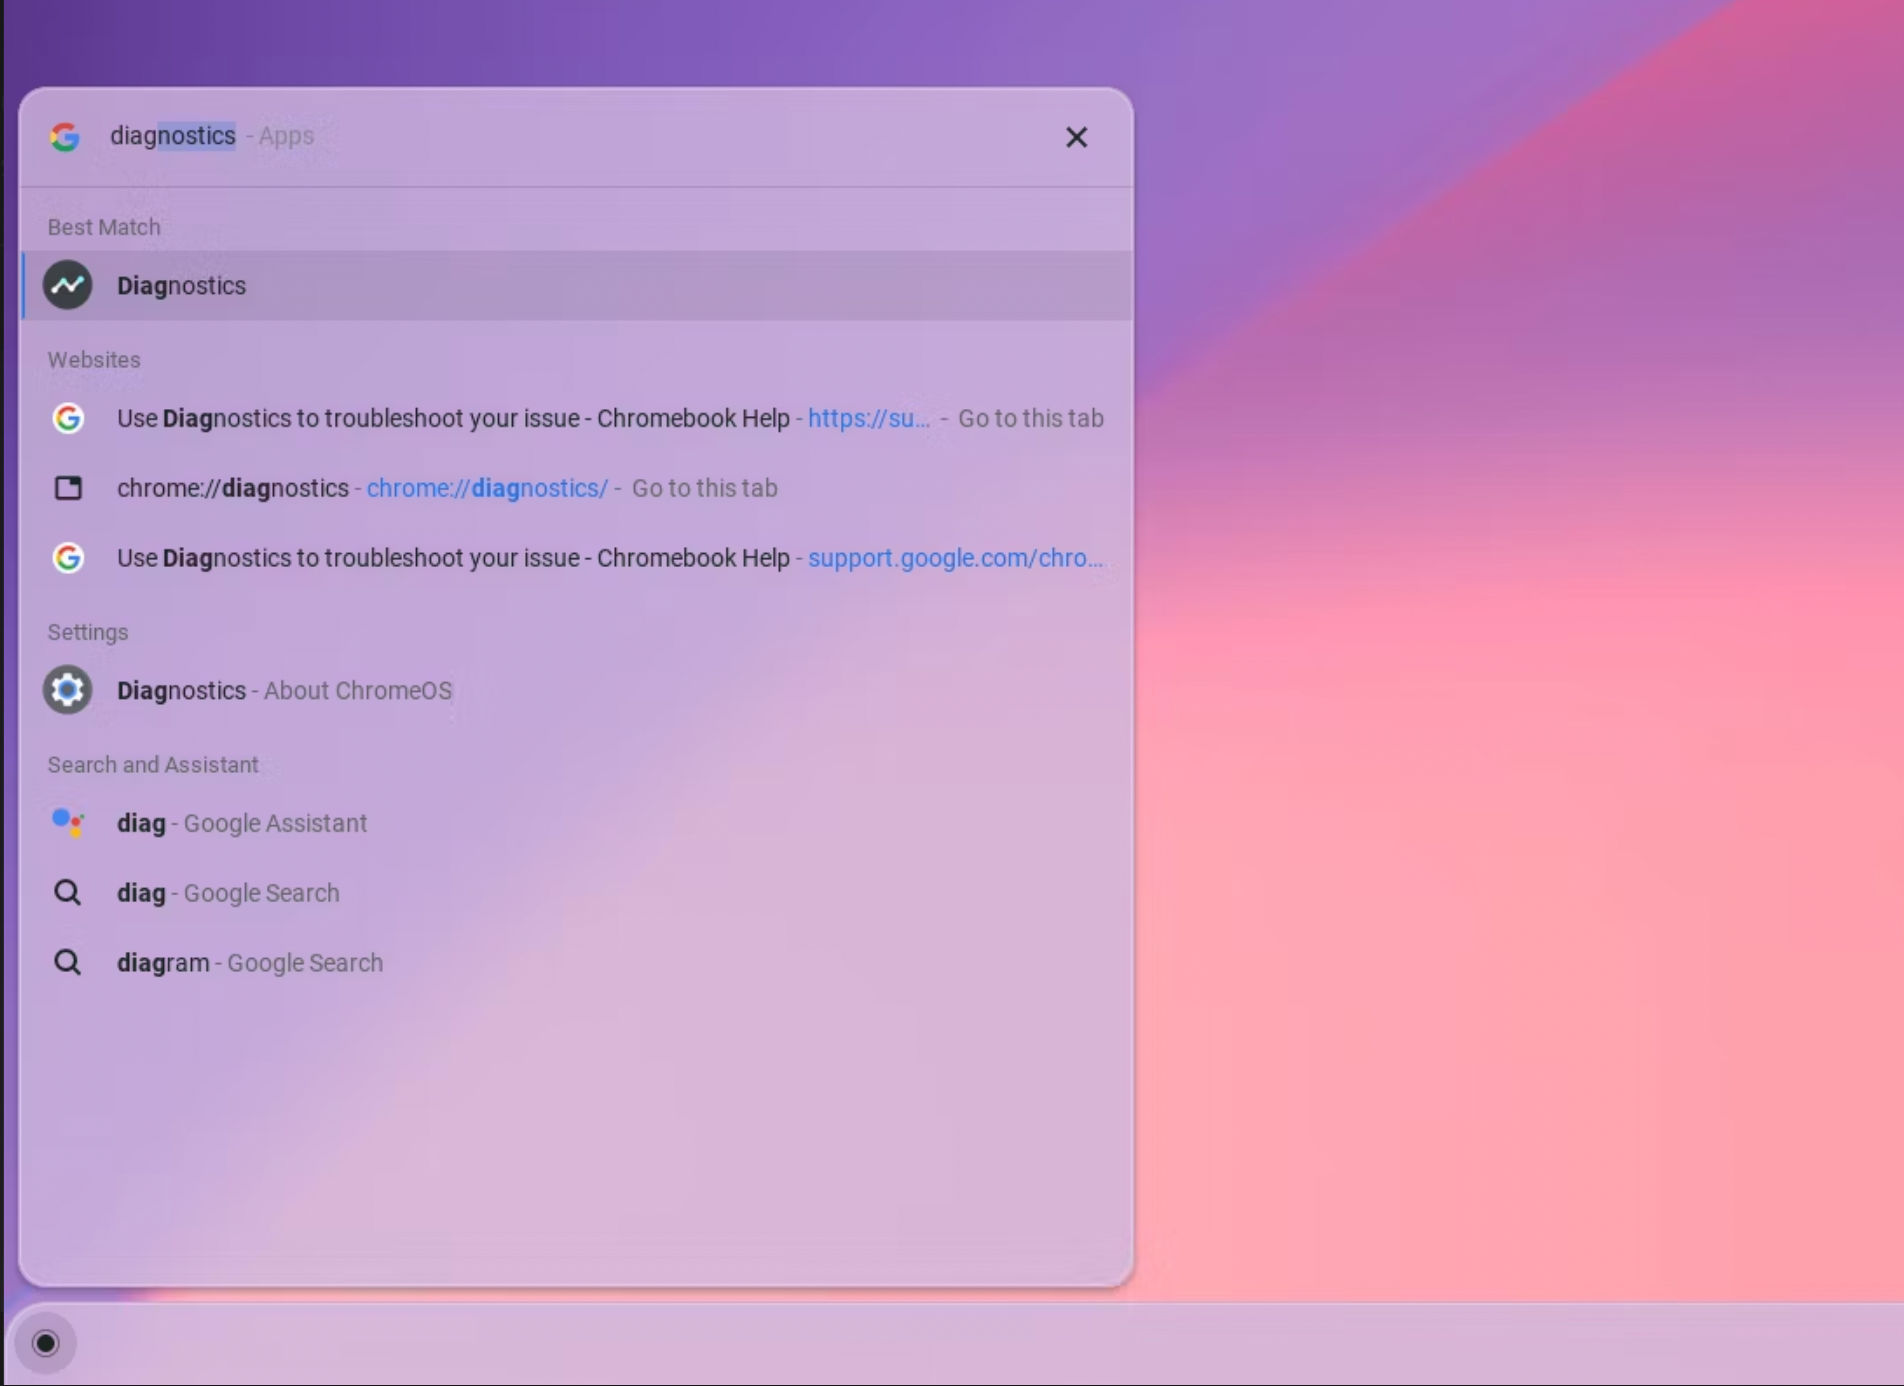
- Step 2: Type in “Diagnostics.”
- Step 3: Choose the first available result.
- Step 4: In the application itself, select “System” from the sidebar.

- Step 5: Go to the “Battery” section to see battery details, cycle measures, estimated time left, and present usage.
- Step 6: To start the battery test, click “Run Discharge test.” Continue to use your Chromebook.
- Step 7: Wait for a few seconds for the test to end.
- ChromeOS is going to display a “passed” or “fail” result. To see greater detail in the results, click “Learn More“.

Also read: Best 16 Google Chrome Flags You Should Use in 2023
FAQs
How often should I check the battery health of my laptop?
A user should check the battery health of their laptops periodically, preferably every month.
What are some of the factors that can negatively affect the battery health of my device?
Some of the factors that can affect the battery health of my device include:
- Extreme temperature conditions
- Incompatible chargers
When is it considered the right time to replace a battery?
If a user is experiencing noticeable issues, and given that even the system battery has experienced a drastic drop, then it is time to replace the battery.
What can optimize battery performance?
Regular software updates can optimize the battery’s performance.