RAM in your laptop stands for Random Access Memory. For a moment, consider a computer like a human. Like a human with short-term and long-term memory, RAM and ROM are a computer or laptop’s short-term and long-term memory. RAM is where the computer stores the current program it is working with so that the CPU can access it at random. Most laptops support upgrading RAM, which might be required if you face slow-down issues on your computer. But that’s not recommended if you’re not a professional, and it will void your warranty. So, how can you check the RAM capacity of your laptop? Here we talk about how to check the RAM in your laptop for other operating systems and devices. Read on.
How to check RAM on Windows 11/Windows 10

From Settings
You can quickly check the amount of RAM in your Windows 11 PC by going to Settings. Here’s how you do that:
- Open Settings on your Windows 11 PC.
- Click in System, then click on the About section.
- Here, click on the Device specifications section, and you’ll be able to see the RAM in your Windows laptop.
From Command Prompt
You can also check the RAM by opening the advanced system information utility from the command prompt. Here’s how to do it:
- Open the Run command by typing run on the Start menu.
- On the Run dialog box, type msinfo32.exe and press OK, and it will show you these options:
- Installed Physical Memory (RAM),
- Total Physical Memory
- Available Physical Memory
- Total Virtual Memory
- Available Virtual Memory
From Start Menu Search
This is the easiest way to check the RAM in your Windows 11 PC. Just search for RAM in the Start menu search and open the first result, and you can see the RAM in your PC.
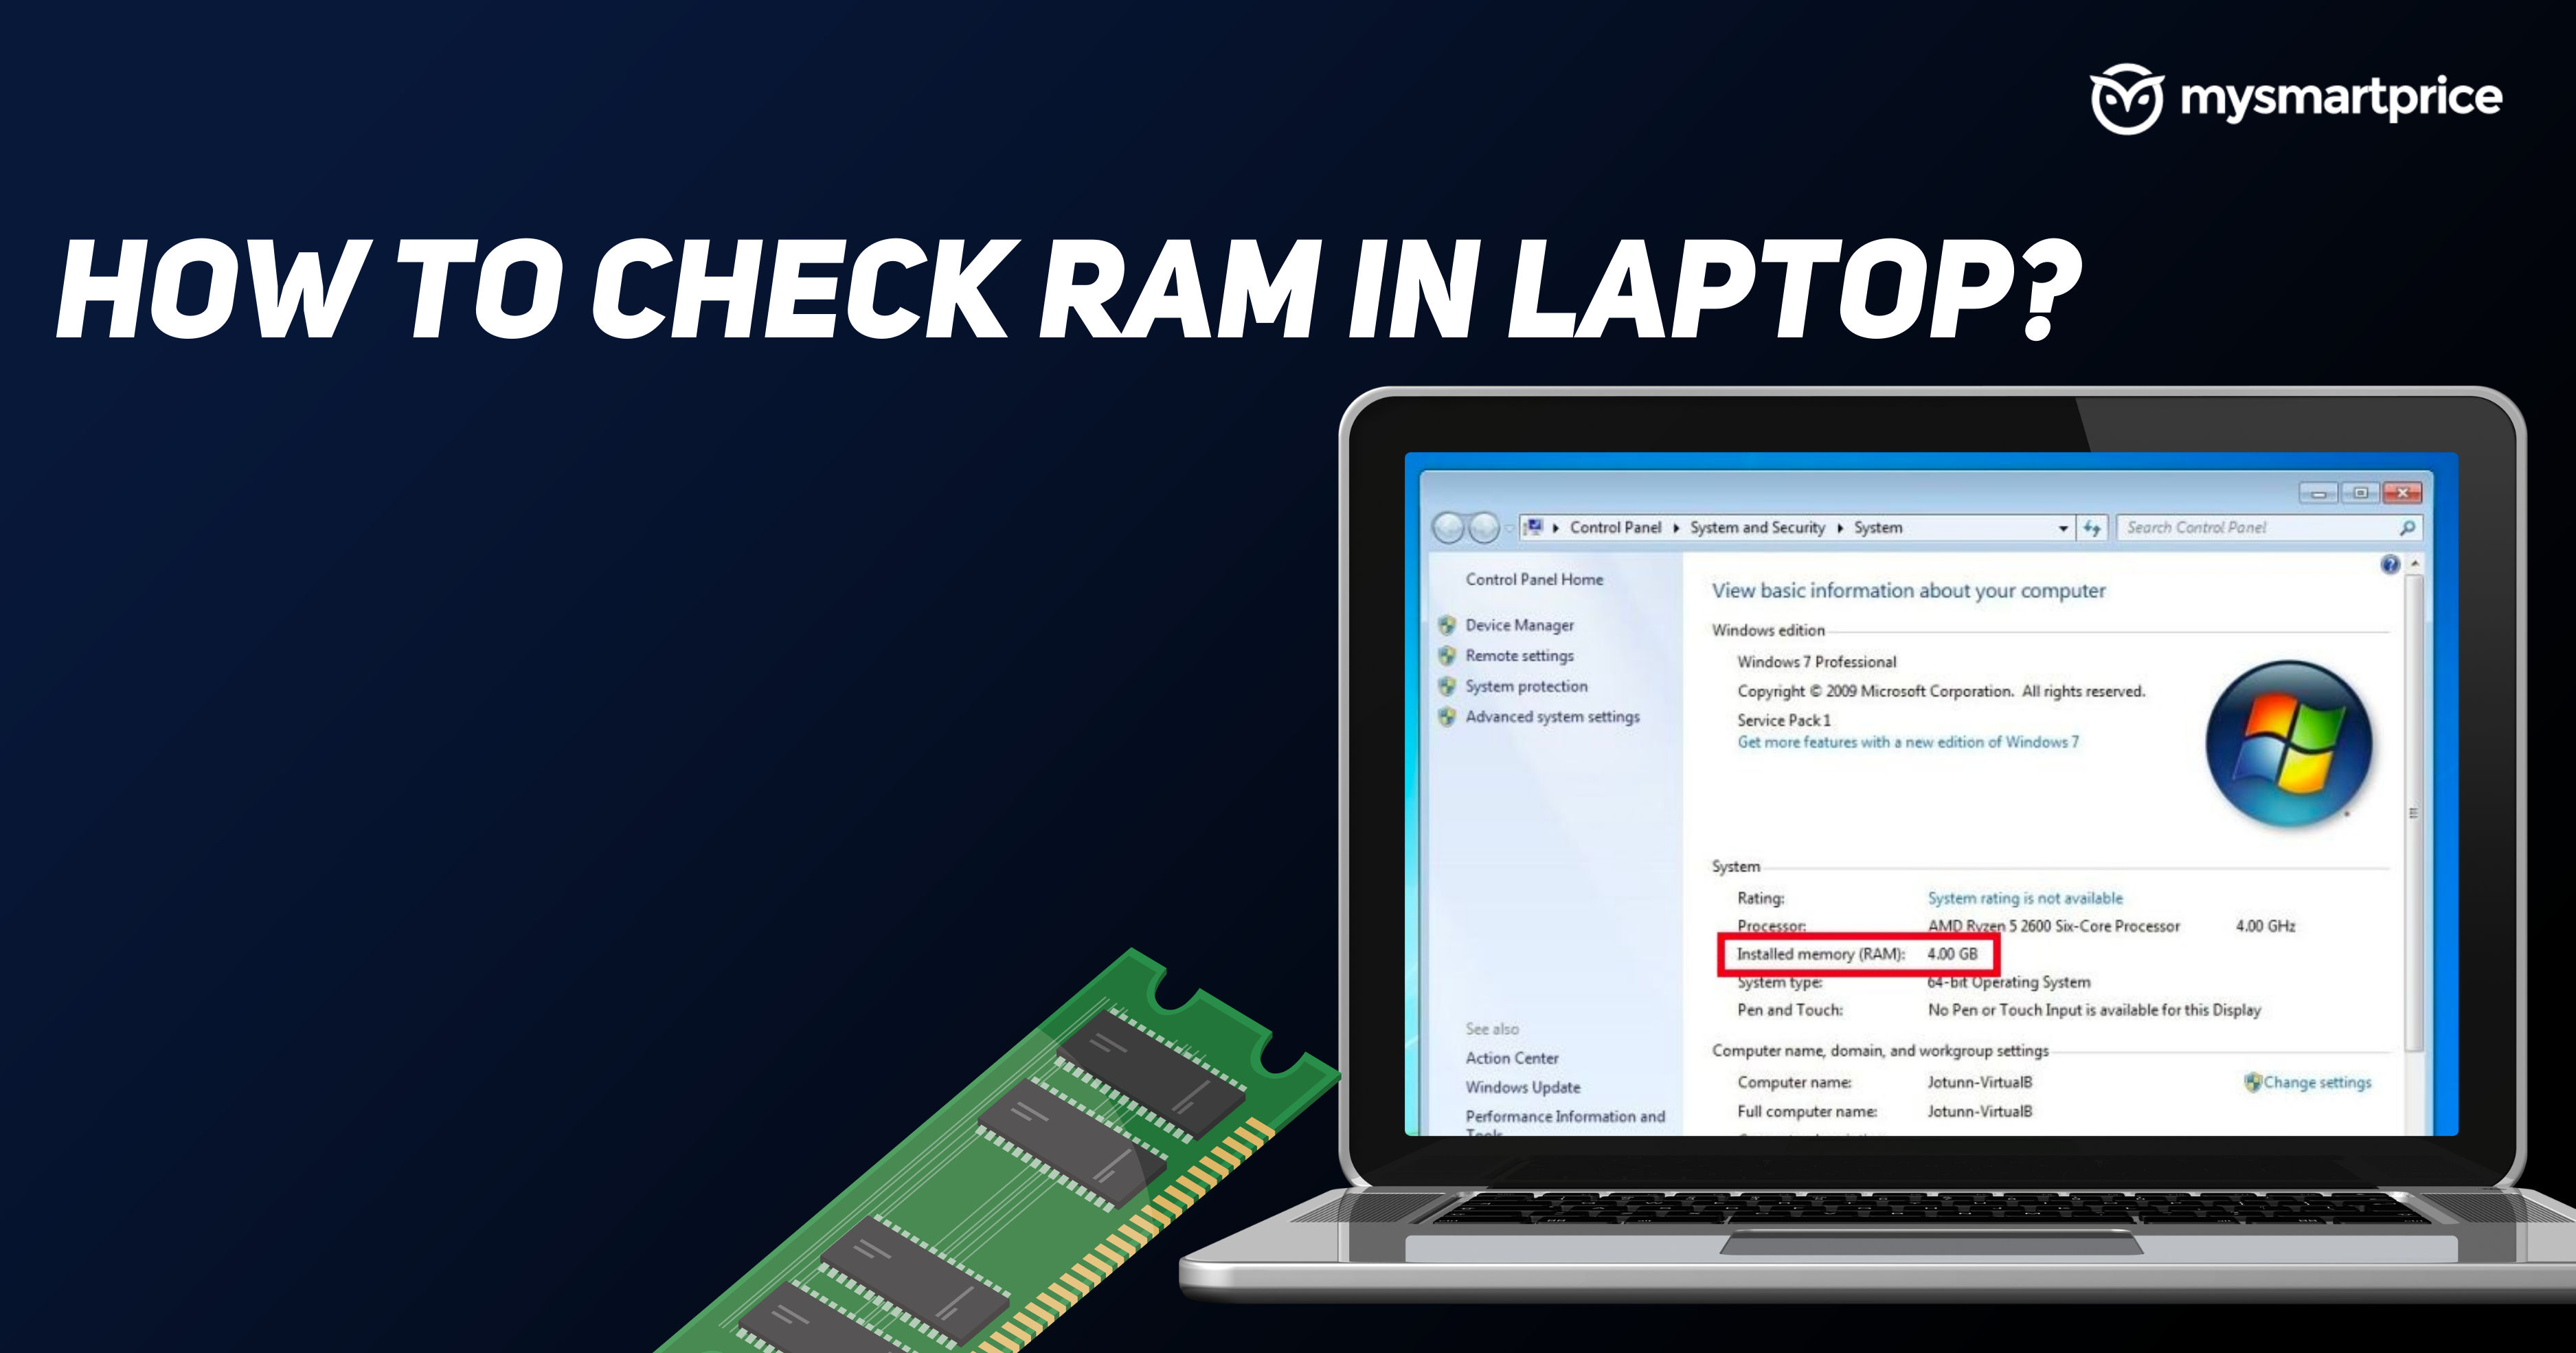
How to check RAM on Windows 7
From Control Panel
You can check the RAM in Windows 7 by going into the Control Panel in Windows 7. Here's how to do that:
- Open Control Panel on your Windows 7 PC.
- Click on System and Security.
- In the next window, under System, select View amount of RAM and processor speed. It will show the installed RAM, along with other Device specifications.
From Command Prompt
You can also run the advanced system information utility in the command prompt to check the RAM on your Windows 7 PC. Here's how to do that.
- Search for Run in the Start menu and open it.
- On the Run dialog, type msinfo32.exe and click OK.
- It will open the advanced system information utility and show the RAM and other device information.
How to check RAM on macOS

From About this Mac
You can easily check the RAM on macOS from the About this Mac option. Here’s how to do it:
- Click on the Apple logo from the menu bar.
- Click About this Mac.
- Click on the Memory tab.
- You’ll see the amount of RAM and the type of RAM installed in your MacBook.
From System Report
You can also check the RAM on macOS from the System Report option. Here’s how to do it:
- Click on the Apple logo from the menu bar.
- Click on About this Mac.
- Select System Report.
- Under Hardware, click on Memory.
- You’ll see the details of your RAM.
How to check RAM type on Windows?
From Command Prompt
You can run a command on the command prompt to check the kind of RAM your Windows PC has. Here are the steps for that:
- Search for cmd on the Start menu, and open the command prompt as administrator.
- Run this command:
wmic MEMORYCHIP get BankLabel, DeviceLocator, MemoryType, TypeDetail, Capacity, Speed - It will show the details for each RAM module installed on your computer.
- Under MemoryType, you'll see a number code. It shows which type of DDR your system has:
- 22 – DDR2
- 25 – DDR3
- 26 – DDR4
How to check RAM usage on Windows
Using Task Manager
The easiest way to check the RAM usage in Windows is by using Task Manager. This is how you do it:
- Open Task Manager on your Windows PC.
- In Task Manager, select the Performance tab.
- Select the Memory tab; you’ll see the RAM usage in Windows.
How to check RAM usage on Mac
Using Activity Monitor
- Open Spotlight on your Mac.
- Search for Activity Monitor in Spotlight search.
- Click on the Memory tab in Activity Monitor to check the RAM usage in your macOS.
How can I get more RAM on your laptop?
It’s super easy, barely an inconvenience; download more RAM.
Psst, that’s a joke, you can’t download more RAM, but you can install more RAM in your laptop. But before you get RAM for your laptop, you need to check if it supports adding more RAM and has a free RAM slot.
Then, you need to check the type of RAM your laptop already has. You can check the RAM type as we mentioned above. Now, buy a similar RAM to what you have on your laptop. Install the RAM in your laptop by opening up your laptop. Here's a video about it:
If this whole thing might sound too technical and risky for you. You can visit the customer service centre of your laptop manufacturer and ask for an upgrade. They'll upgrade your RAM without voiding your warranty.
Frequently Asked Questions
1) Is 16GB RAM enough?
For most tasks today, 16GB RAM is more than enough for today’s computers.
2) What is the shortcut key to check RAM on a laptop?
Press Ctrl+Shift+Esc to open Task Manager. Then select the Memory tab under Performance to check the RAM in your laptop.
3) How much RAM do I need?
Ideally, you would need 16GB RAM on your laptop, which puts your mind at ease for years to come. But 8GB RAM is also perfectly fine for a laptop.
4) How to check RAM Speed on windows and Mac
You can check the RAM speed on the Task manager in Windows. You can do the same in Activity Monitor on Mac.