You don’t want blank pages to pop up on your MS Word document randomly. These blank pages can appear in the middle of the document or at the end. These blank pages break the flow of the document and can disturb the overall formatting of your document and make the document look unprofessional.
These blank pages could be caused by various elements like tables or images. These could also be caused by pressing the Enter button too much.
In this article, we show you how to delete blank pages in an MS Word document. Read on.
How To Delete A Blank Page In A Word Document
Here’s how to delete a blank page in a Word document using paragraph markers in MS Word.
- On the document, press Ctrl key + Shift key + 8 key.
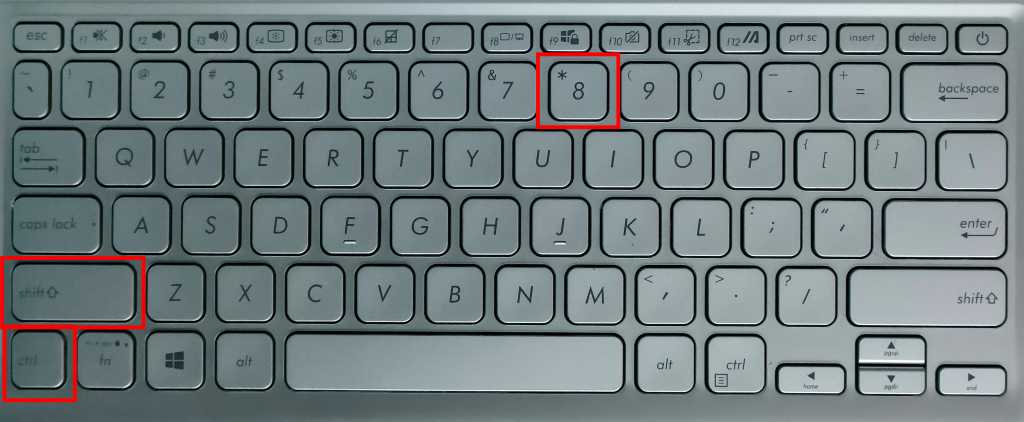
- This will show/hide the paragraph mark.
- You can also do this by clicking the paragraph icon in the Home tab.
- This shows paragraph markers (¶) at the end of paragraphs.
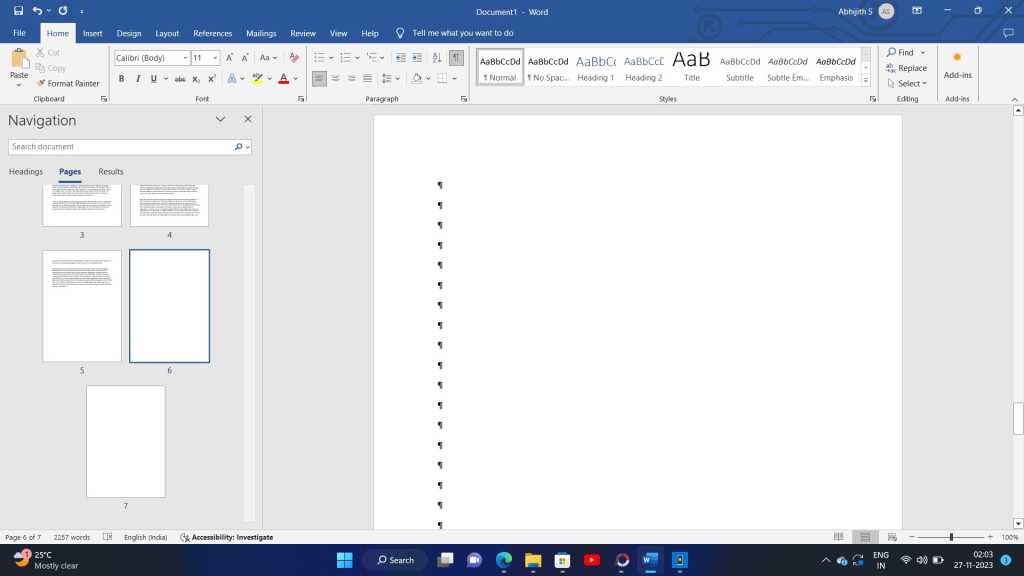
- To delete the extra blank page, select all the paragraph icons and click the Delete button on your keyboard.
- You can press Ctrl key + Shift key + 8 key shortcut to remove the paragraph mark.
Also Read: How to Add Borders in Microsoft Word on Windows, Mobile, and MacOS
How To Delete Extra Blank Pages In A Word Document
Sometimes, when working with a large document, you want to check for blank pages. Let’s talk about how to check for blank pages and how to remove them:
- Click on the View tab on the MS Word document.
- Under Show, click on the check box of the Navigation Pane. This will show the Navigation Pane in MS Word.
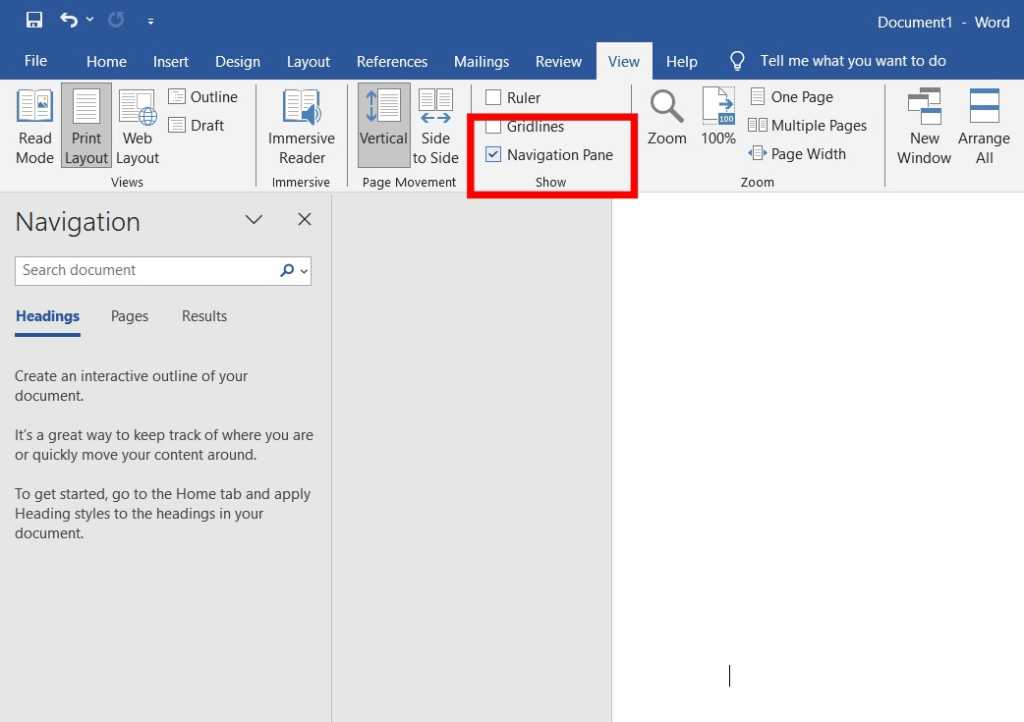
- Here, click on Pages. This will show all the pages in the document in the navigation pane sidebar.
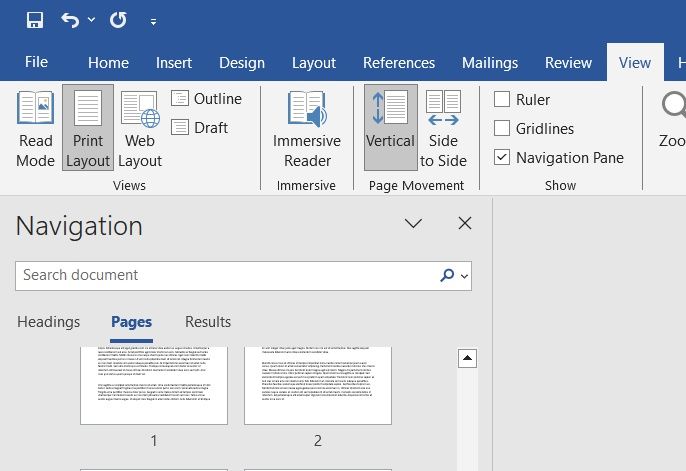
- Find the blank page from this sidebar.
- Click it to select it.
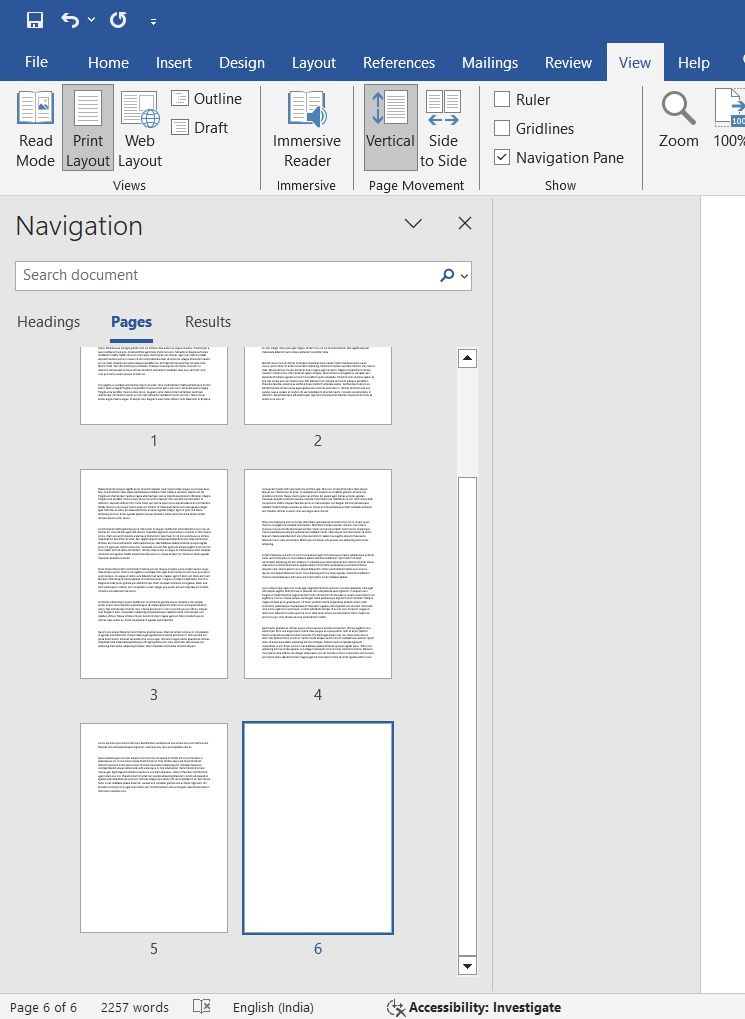
- Now click the Delete button and the extra page will be deleted.
- You can also remove the page by clicking the Backspace button.
Delete Whitespace in Word When After Tables or Images
In a document, it is common to have a table or images. Usually, most of us add these after completely writing the text document and once added, the image or the table might be forced to move out to the next page. However, there are a few workarounds for the same. Let’s take a look at each of them.
Reduce Font Size
This particular method will avoid a table from carrying over to the next page due to the whitespace under it.
- On Windows, press “Ctrl + Shift + 8” and on Mac, press “command key (⌘) + 8”
- This will enable the paragraph marks
- Right-click the paragraph symbol next to the space you want to remove
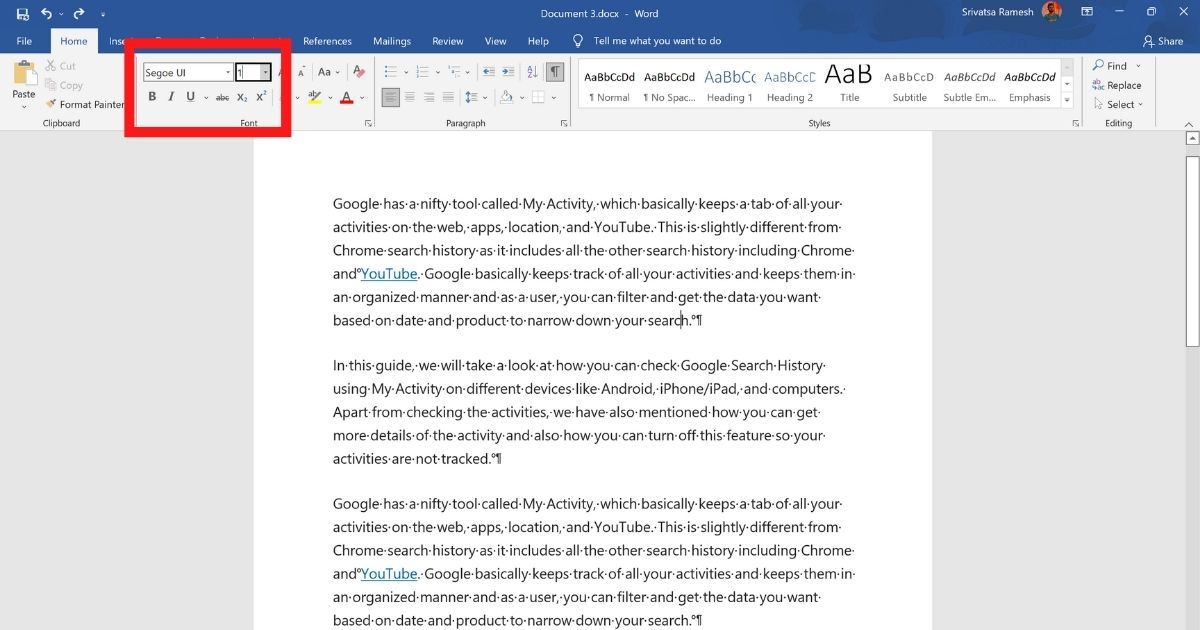
- Type in the lowest “1” as the font size
- This will shrink the blank row down and gives you more space on the page
Adjust Paragraph Spacing
Once you have opened a document, follow these steps to adjust paragraph spacing on the document.
- under Home > Paragraph options, select the “Line and Paragraph Spacing” option (refer to figure)
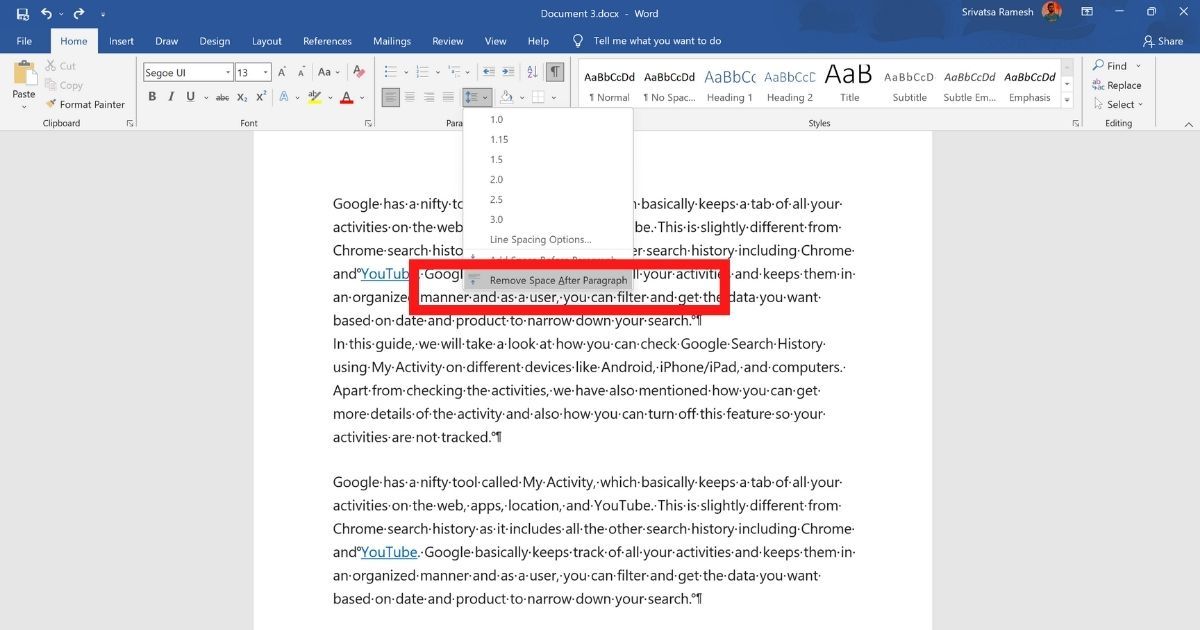
- Select the “Remove Space After Paragraph” option
- Extra spaces from the document after paragraph will be removed
Hide Whitespace
In case your word document is unable to fit an image or a table at the bottom of the page, you can make their site on the page by eliminating the whitespaces on the previous space. The below-mentioned steps will remove the whitespace between pages so, you can easily place the image/table right below the content. 
- Open a document with an image splitting to the next page
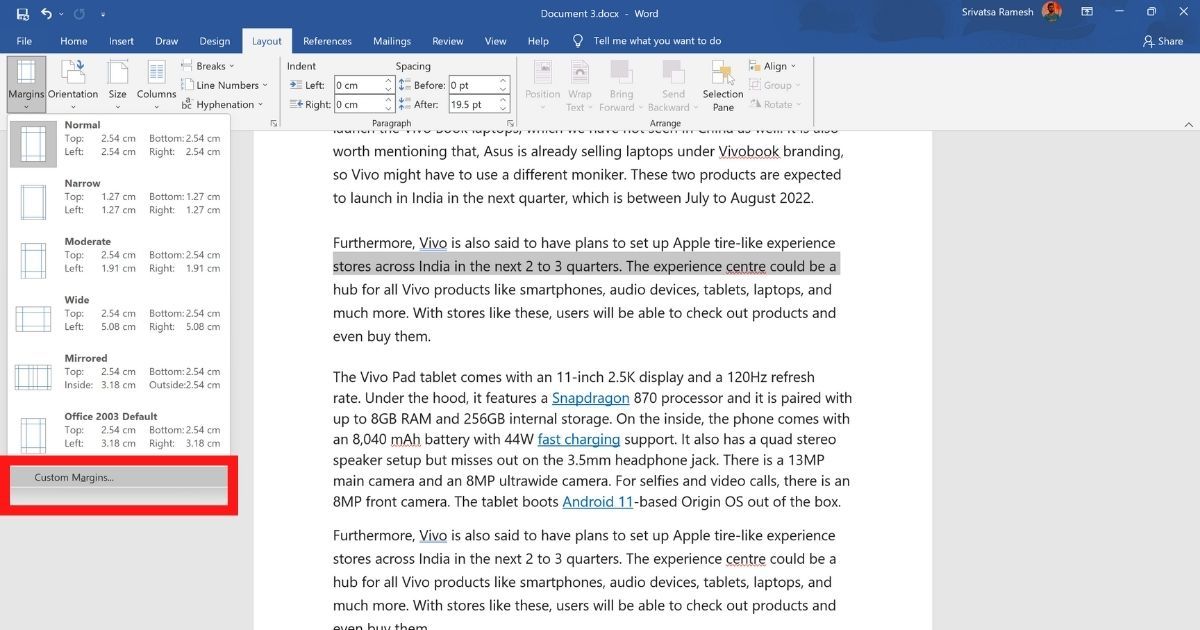
- In the top menu bar, click on “Layout > Margins and then select “Custom Margins”
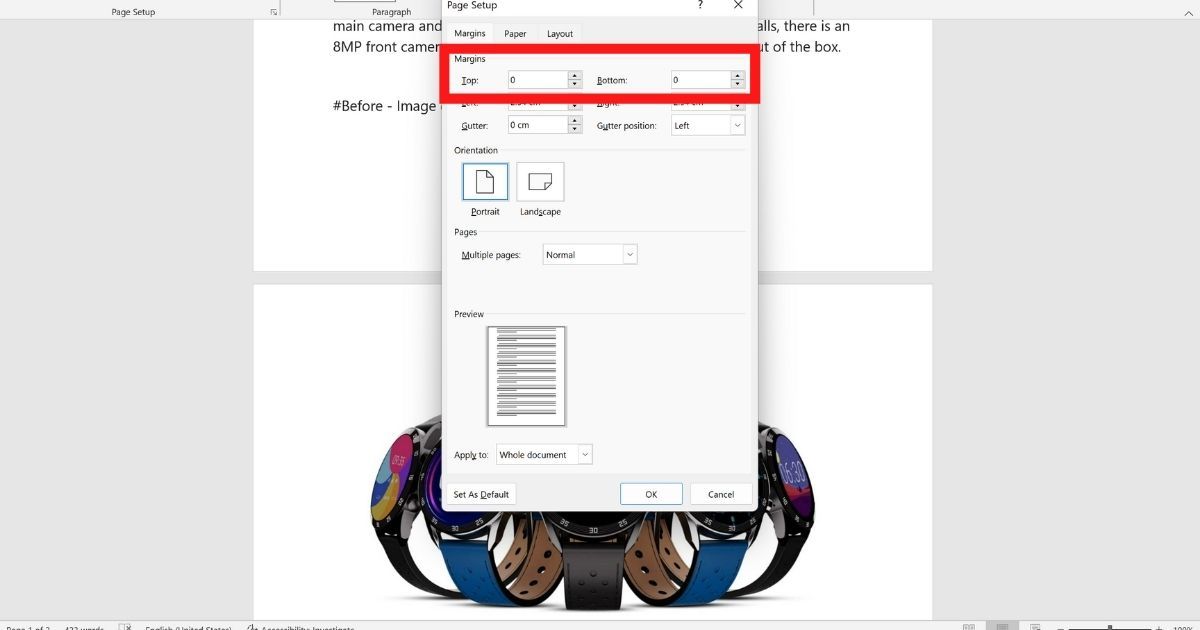
- Enter the Top and Bottom margin as “0” (zero)
- Click “Ok”
- The image will come up and fit on the page